We have brought you a guide on how to beat Perpetual Mechanical Array in Genshin Impact. Beat the boss to get the rewards.
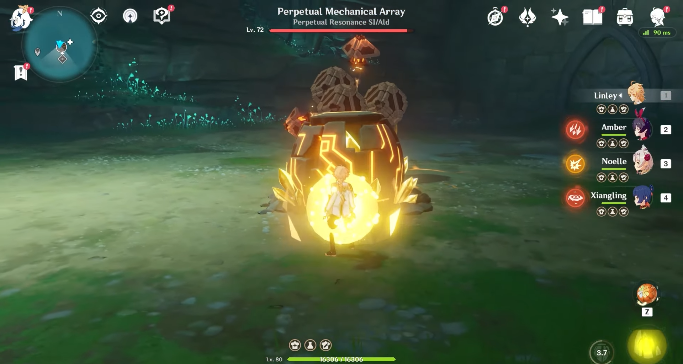
The Perpetual Mechanical Array is a strange cube shaped ancient war machine. This machine was left behind by a destroyed nation. It has many different parts and can adapt to the environment of any combat situation. By doing this, it can use many different attacks. This boss has lots of attacks that can put you in trouble. But how to beat Perpetual Mechanical Array in Genshin Impact? The answer to this question is in our guide below.
Perpetual Mechanical Array Location
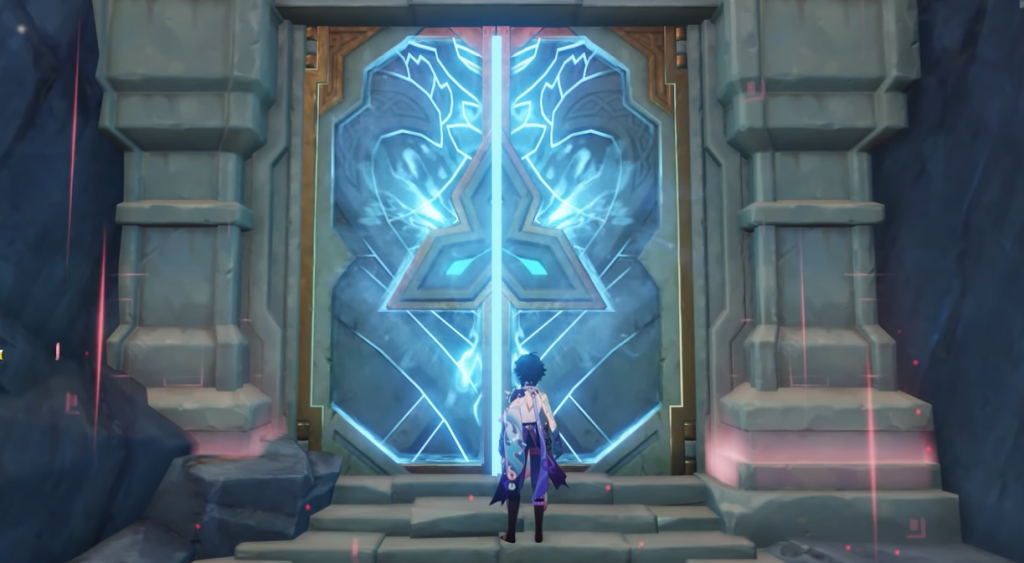
Perpetual Mechanical Array can be located on Inazuma’s Narukami Island. Players have to enter through a portal on Jinren Island in order to access this normal boss. If you want a faster route, then you can go through a teleport waypoint which is next to the boss. However, this requires you to complete the Araumi section of Cleansing defilement first.
Perpetual Mechanical Array Attacks
- Rocket Blast: This attack transforms into a rocket and deals 110% ATK after hitting you by targeting your position.
- Orbital Strike: This attack deals 10% more ATK than the rocket blast. It will target your current position that will focus before striking down on you.
- Cube Roll: This attack is used by the boss at long ranges only. As the name suggests, this attack transforms into a cube and rolls at a high speed. With the final roll, it releases a shockwave that deals 90% ATK.
- Sword Slash: This attack is the opposite of the previous one. It deals damage at the melee range. The boss transforms this attack into a giant sword and slashes it right to left. This deals 90% ATK as Physical DMG.
- Blade Spin: Similar to the sword slash, the boss transforms into a blade and slashes back and forth within a melee range.
- Energy Cannon: This attack deals rapid damage once it hit you. It charges and releases a beam of energy that will follow you.
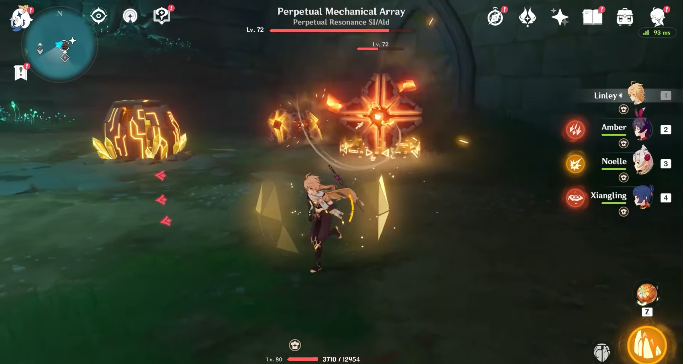
- Defensive Mode: This occurs when the boss’s health reaches half. The boss will become invincible and launch four ruin sentinels. Your priority will be to defeat them first.
How to beat Perpetual Mechanical Array
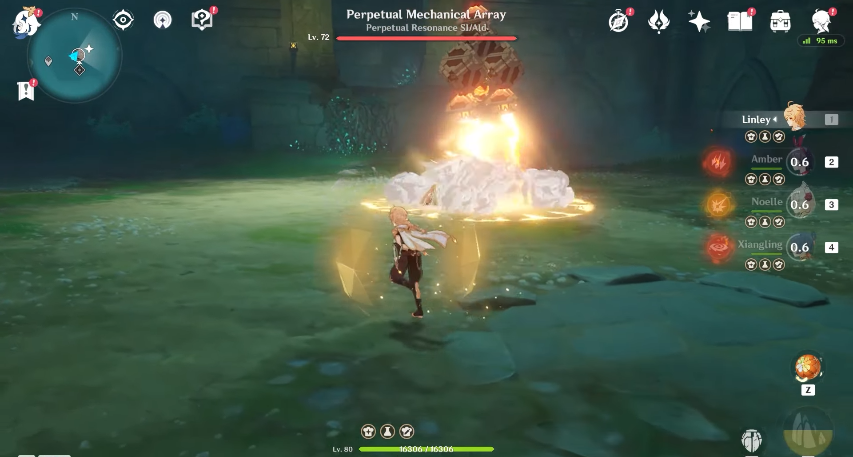
As you now know the attacks, it’s time to tackle them and defeat the boss. Perpetual Mechanical Array will mark the player or the floor with a red circle. This will be a warning for the upcoming attack. This can be dodged easily, so you don’t have to worry about it. If you have fast-moving characters, then this will be a piece of cake. Shield characters can be useful in blocking its standard attacks.
As we mentioned, the boss will be in defensive mode and summon some Ruin Sentinels once it reaches half of its health. Unless and until the sentinels are eliminated, you will be unable to attack the boss. The trick to this is to defeat the ruin sentinel whose health bar is visible. Once you defeat this particular sentinel, others will die instantly. Now you can continue to fight the Perpetual Mechanical Array.
Learning the basic attacks of the boss will help you to defeat the boss. The boss is not so difficult, except for the part where he summons the ruin sentinels. Defeating them is also not hard, but some players get confused that what should they do.
Recommended characters to beat Perpetual Mechanical Array
- Ayaka
- Xiangling
- Rosaria
- Bennett
- Zhongli
- Diona
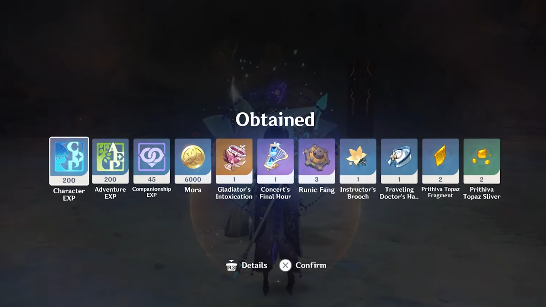
Rewards
Perpetual Mechanical Array will drop the following Material:
- Shivada Jade Sliver Any Lv.
- Shivada Jade Fragment Lv. 40+
- Prithiva Topaz Sliver Any Lv.
- Prithiva Topaz Fragment Lv. 40+
- Shivada Jade Chunk Lv. 60+
- Shivada Jade Gemstone Lv. 75+
- Prithiva Topaz Chunk Lv. 60+
- Prithiva Topaz Gemstone Lv. 75+
- Perpetual Heart Lv. 30+
In addition, you will get the following artifacts:
- Berserker
- The Exile
- Lucky Dog
- Gladiator’s Finale
- Wanderer’s Troupe
- Prayers to Springtime
For more Guides, Tips, and Tricks
- Top 10 characters in Lego The Skywalker Saga
- Mythic Heroes Tier List – April 2022
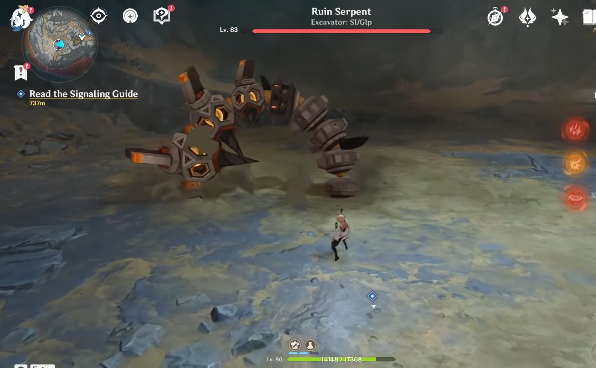
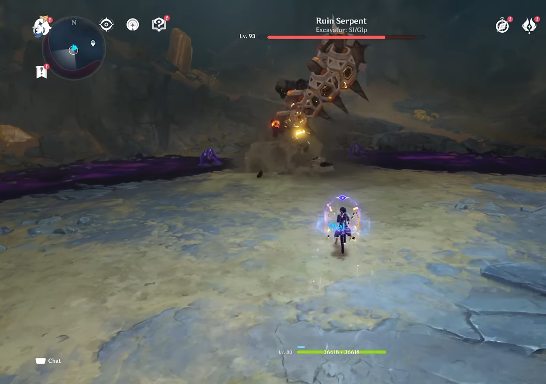
- How to beat the Ruin Serpent in Genshin Impact
You can also check our dedicated Video Games Guides section.