Are you tired of walking and want a mount in Lost Ark? You will need Jewel Coral. Our guide will tell you how to get Jewel Coral in Lost Ark.
It takes place in a vast world, Arkesia, in Lost Ark. It is therefore full of dungeons, events, and areas to discover for players. The game has something for every kind of player, whether it’s bosses, looting, or just general exploration.
In any massively multiplayer online role-playing game with a huge world, traveling is one of the most tedious aspects. Almost every player wants to get to their destination as quickly as possible, which is where Mounts come in. In Lost Ark, the Jewel Coral is a remarkably rare currency necessary to buy a mount. In this guide, we will tell you how to get Jewel Coral in Lost ARK.
How to get Jewel Coral

In order to begin, you must be level 50. A ship and preparation for combat are also essential before you set sail for Turtle Island. Jewel Coral can be found on Turtle Island, so the sooner you get Jewel Coral, the sooner you can get a turtle mount. There are several quests that you can complete on Turtle Island that will reward you with Jewel Coral. Upon completing the quest ‘To The Sea’, you’ll receive one Jewel Coral right away.
Combat tips
You should always have at least one movement-based skill with you. Additionally, since players cannot ride horses or mounts on the Islands or within Dungeons, spamming these Skills makes the terrain much more manageable.
Make sure your cooldowns are balanced. Early on it won’t matter too much, but later on, as the monsters become stronger, one rotation of using all a player’s Skills will no longer be sufficient to take down a mob or boss.

It’s definitely a game about crowd control in Lost Ark. Players will have to face relatively large groups of enemies. Hence, the better a player is at grouping them together, the faster they will level up and the more fun they will have.
A few Skills have higher damage as Back Attacks, while others are meant to be used right up front, and others are meant to be used as a counterattack to a Boss’ attack. Keep an eye out for Skills with high Stagger or Weak Points, and try to build a Skillset in which Back and Front attacks aren’t mixed too much. Furthermore, memorize your counter Skills, and do your best to not mix and match attacks too often.
Go to Luxury Goods Merchant
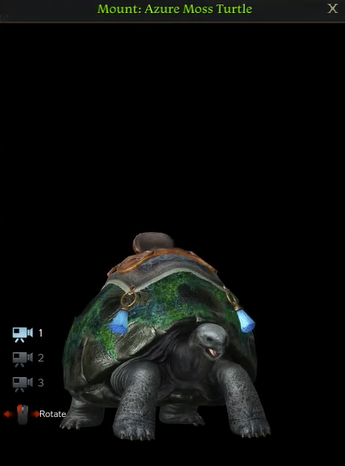
As soon as you have your Jewel Coral, you should go to a Luxury Goods Merchant, which you can locate in most major cities. At this point, you will have the option to trade your Jewel Coral in for either an Azure Moss Turtle or a Yellow Moss Turtle. As soon as you get your new buddy, you can ride it as a mount! Show off your new pal to your friends and take it for a walk with you on the way to your next adventure!
For more Guides, Tips, and Tricks
- Best Weapons in Elden Ring – Weapons You Should Be Using
- Black Widow: Recharged Guide – 10 Things You Should Know
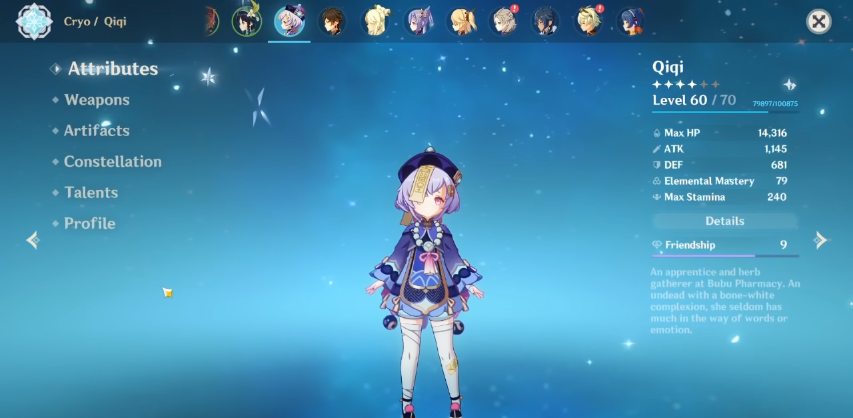
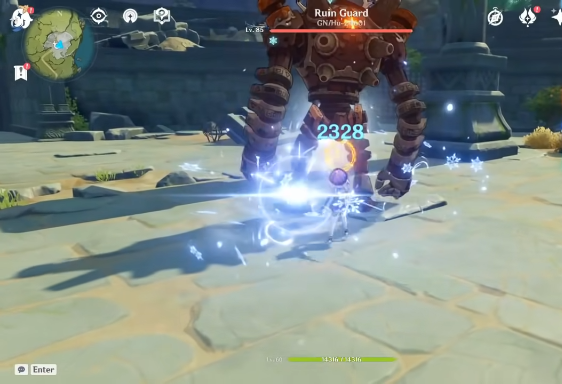
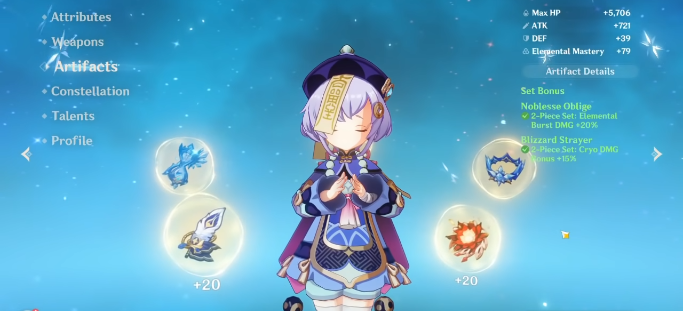
- Genshin Impact Qiqi Guide – Tips and Tricks You Should Know
You can also check our dedicated Video Games Guides section.