We have brought you the Genshin Impact Tatara Tales quest guide. The complete walkthrough will help you finish the quest easily.
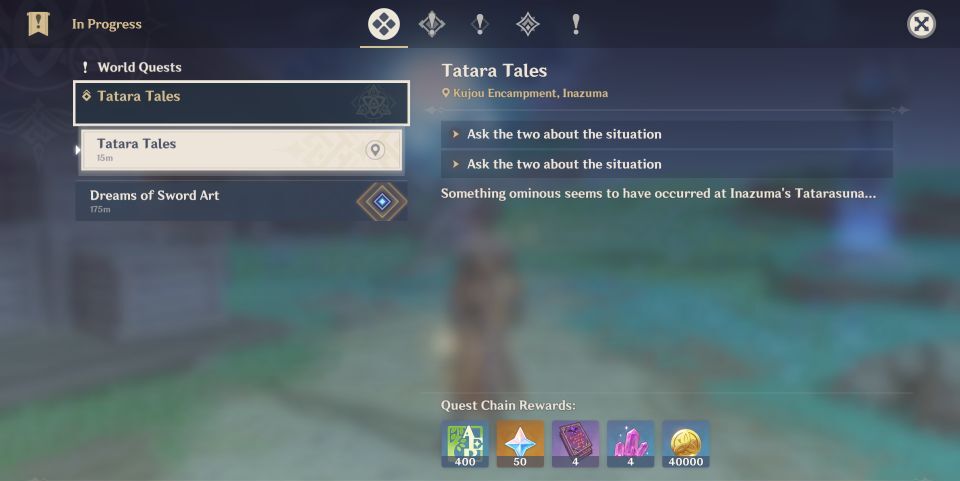
Tatara Tales is a global quest that is part of Genshin Impact 2.0. Tatarasuna is on the lookout for information concerning Inazuma’s actions. When you arrive in Inazuma, the first thing you should do is explore all of the new locations Genshin Impact has to offer. Once you reach to Kannazuka Island, you’ll discover that a large chunk of the island is protected by an electrical shield, and you won’t be able to explore it.
To break down one of the region’s longest tasks, you’ll need to start with the Tatara Tales. The game can be a little confusing to finish, especially after you understand that Tatara Tales is related to real-world time halfway through. The below Genshin Impact Tatara Tales Quest guide will help you to solve it with its complete walkthrough.
Tatara Tales Quest Guide: How to start
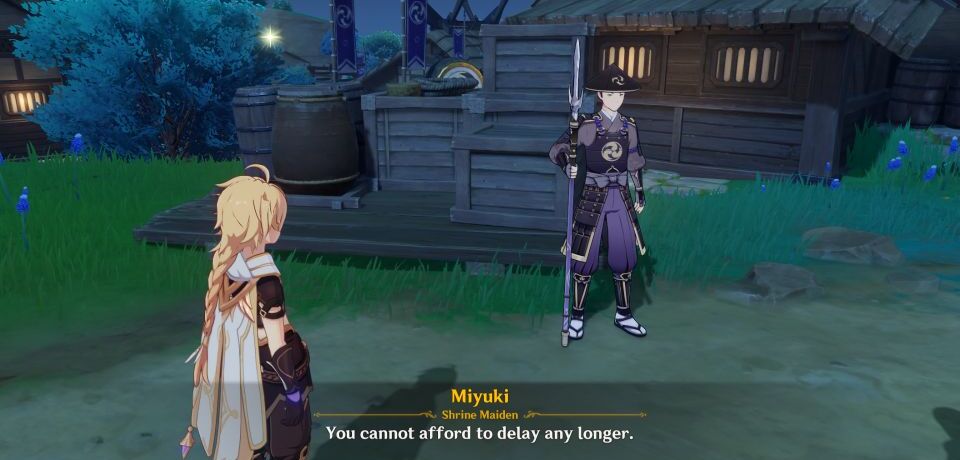
To begin the quest, head to Kujou Encampment on the map. Miyuki and Toranosuke are having a talk. After Toranosuke and Miyuki’s talk, you should speak with them to figure out what’s going on. You must talk with Xavier as soon as you reach the edges of the Mikage Furnaces shield.
Mikage Furnace
The Mikage Furnace can be observed in three different locations, all of which are marked on the map.
- In one of the observation areas, Fatui surrounds the area. In order to investigate the marked spot, you must defeat the Fatui first.
- It’s more difficult to observe the second spot. The electrogranum must be obtained first, then the thunder sphere has to be used directly above you.
- To reveal the observation marker, glide towards the electro-seelie on the rift ahead of you. Once you have examined the matter, you can proceed.
- The beach area is the last stop before you reach your destination. Observe the furnace with an electrogranum by going through the thunder barrier.
- Report back to Xavier when you’re done. A map of the Kamuijima Cannon will be given to you.
Activate Kamuijuma Cannons

The rift can be destroyed with three cannons in total. A map shows which one to use. It’s located south of Kujou Encampment.
- At the waypoint, the cannon is located. Either electro status should be applied or the electrogranum must be used to activate the cannon. The electrogranum can be summoned before using it. Aim the cannon at the rift and it will be destroyed. It can be aimed at different heights and directions. It will go farther if you aim higher.
- Visit the waypoint south of the previous cannon to get to the second cannon. Operate it with electrogranum once again.
- There is also a third cannon in Kujou Encampment/north of the first cannon. This cannon is on the cliff. You can use it to close the final rift.
- When you’re finished, report back to Xavier.
Take a picture of Mikage Furnace
Now we must approach the Mikage Furnace. Look at the map to see where it is. You may now get in all the way from Xavier’s position because the barrier has been removed. Continue ascending the tower until you reach the top. Climb the tower all the way to the top. At the summit, you can locate a location near the Mikage Furnace. Take a photo, then return to Xavier to show him the photo. The quest has come to a conclusion.
Tatara Tales Quest Guide: Priority Investigation
In this series, the second quest is Priority Investigation. After completing the previous quest, you can begin this quest immediately. Speak with Xavier to begin. He will ask you to place three beacons this time, all in the same area. Each beacon’s location is marked on the map.
- You can go directly from Xavier’s location, just like before. You will soon find the first beacon point. After crossing the bridge, head for the tower.
- The second beacon should be placed at the top. In this quest, you’ll find the same spot you took the previous photo of.
- It is simply a matter of gliding down from the last beacon. It is located at the bottom.
- Xavier must be notified when you are finished. This concludes the quest.
Tatara Tales Quest Guide: Purification Device
On the following day, you will get the third quest. You can begin it by talking to Xavier again. You only need to give him three portions of Crystal Marrow to complete the quest.
Tatara Tales Quest Guide: Data Collection
Data Collection is the next sub-quest. Talk to Xavier again to begin it. At first, you had to place all the beacons. Now all you have to do is collect them from the same spots where you placed them. Report back to Xavier to end the quest when you have collected all three beacons.
Tatara Tales Quest Guide: Process is everything
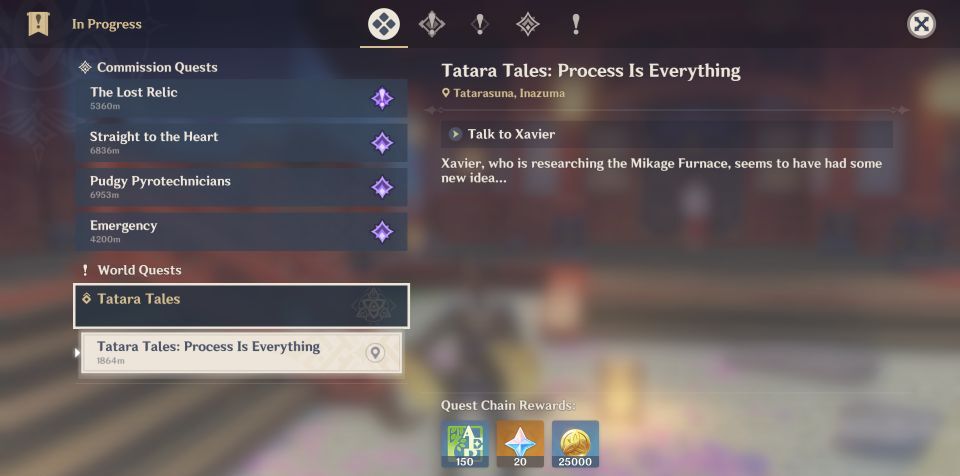
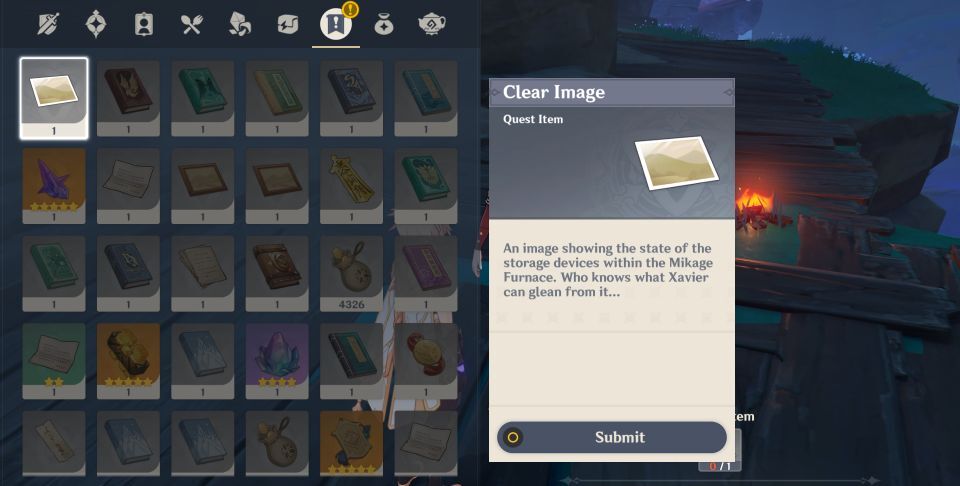
Taking photos of Mikage Furnace is required for the next task. On the map, you can find two places to take photos.
- You can reach the bottom of the area by going straight all the way from Xavier’s location. A marked spot will be visible there. Make sure you look up at the top and take a picture.
- It’s quite simple for the second one. Take a picture of the furnace.
- Complete the quest by returning to Xavier and submitting the two photos.
Tatara Tales Quest Guide: Functional Test
Next, we have an easy sub-quest. Xavier only needs three Onikabuto from you. Electro-saturated areas tend to have these bugs on trees. This concludes the quest.
Tatara Tales Quest Guide: Final Preparations
The first thing you need to do is collect planks. To get to the planks, you have to walk straight from Xavier’s location. You will find a Mirror Maiden near the planks. You then need to restore the paths/bridges after picking up the planks. A map shows all the locations. Xavier is right next to the bridge that contains the first two parts. The last part is located across another bridge. Gliding is the easiest way to get there.
The Last Act
This series concludes with the Last Act. The quest begins with Xavier. Go to Mikage Furnace this time. On the map, you can see its location. Basically, it’s on one of the bridges. Find all the missing parts after talking to him. Near Xavier’s back, they’re all standing near him.
It is possible that some Fatui members spawn there. Dig deeper into the furnace once you have collected all the parts. Talk to Xavier as you approach the area to find out how you can defeat the Fatui members. Once you have defeated them, speak to Xavier again.
After that, head to the furnace’s bottom. The Purification Device must be activated before you can fight the Fatui. Six opponents will participate in the fight, including the usual Fatui members, the Fatui pyro agent, and the Mirror Maiden. Be careful when you are near the balethunder, as it may be dangerous. You can protect yourself by using the electrogranum. Take a look at the situation from the top of the furnace after beating them. Your quest is complete.
For more Guides, Tips, and Tricks
- Lost Ark Free Mounts and How to Get Them
- Lost Ark Drumbeat Island Guide – Everything you should know
- Genshin Impact Bennett Guide – Tips, Tricks, Weapons, Artifacts, and more
You can also check our dedicated Video Games Guides section.