You will need a Hollow Knight Beginner’s Guide if you are new to the game. This guide will help you to survive in the game.
Hollow Knight throws you into a bleak yet occasionally beautiful environment with just a nail and a spirit of adventure. As you travel further into a subterranean world packed with untold peril, you’ll quickly discover that those assets are just enough to keep you alive. You’ll be forced to learn lessons the hard way, with many fatalities at the hands of formidable bosses and the elements. We offer a Hollow Knight Beginner’s Guide that will assist you to learn the ropes.
Hollow Knight has a lot of mechanics in common with the SoulsBorne series. It’s similar to a Souls game, but with a lighter tone and approach. In every Soa highly popular and fully non-linear universe.
After all, this is an adventure game, therefore the priority would be to not hurry things. Instead, for the entire experience, you should constantly take time to go back and investigate other locations. It’s also a good idea to hunt for hidden tunnels behind walls that can only be accessed after striking the wall. Furthermore, certain locations will be shut; do not be concerned. Check back once you’ve made some progress to check whether you’ve been given access.
Hollow Knight Beginner’s Guide for Health
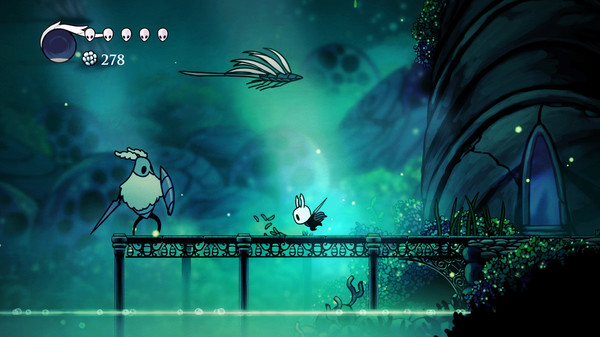
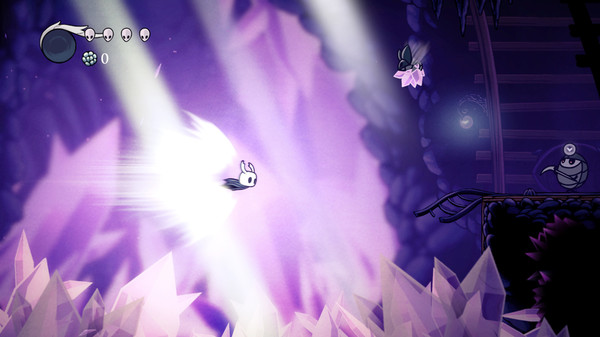
You can view the number of masks that signify how much health you have left in the top-left corner of the screen. Small foes will destroy one mask every hit, but larger and more powerful adversaries can destroy up to three masks in a single stroke. In addition to these masks, you may obtain Soul Vessels by striking foes, and these Soul Vessels can be utilized as mana for magic spells as well as for healing life.
Hollow Knight Beginner’s Guide for Revive Mechanic
How revive mechanisms operate is another intriguing element. Except for bosses, opponents regenerate once you sit down on a seat, similar to Dark Souls. After you die, you lose your main currency, Geo, and are given one chance to reclaim it from the Shade, a shadow version of yourself.
Fight back to reclaim what is rightfully yours. If you die on the path Shade, you will lose all of your Geo. Remember that if you quit the game while you have a Shade active, you will lose all of your Geo. Souls allow you to heal yourself and cast spells. The Soul Vessel is where they are kept. When you die, you suffer damage to a third of your Soul Vessel, which you may accomplish by beating the Shade once again.
Hollow Knight Beginner’s Guide for Map
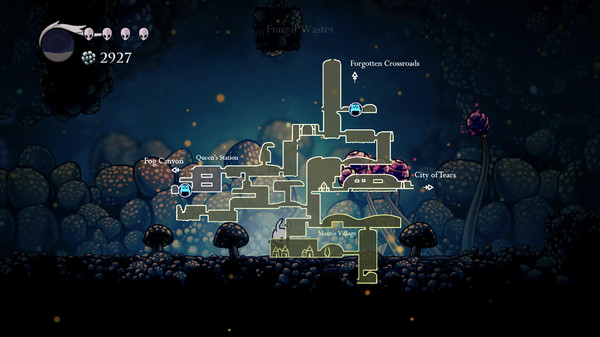
Hollow Knight is set in a labyrinthine landscape with numerous nooks and crannies, as well as twists and turns. The majority of places are rather big, with a few corridors that are very similar in appearance. While retracing, you’ll acquire familiarity with the most beneficial rooms. Making a map as you travel will, however, make your journey much easier.
While many games have a system that starts mapping as you explore, Hollow Knight requires you to buy the appropriate instruments using the game’s money, geo. When you beat foes, precious geo shards drop, and you can occasionally locate them in groups around the caverns.
You come across a mostly abandoned group of a few buildings towards the beginning of your trip. The settlement of Dirtmouth is located in this location. Its major attraction is a well where you may go to start your quest in the Forgotten Crossroads area properly. From the well’s base, turn left and descend a high vertical shaft with platforms and flying foes until you reach a room with parchment paper strewn around it. Cornifer is the man you’ll find there. He is a cartographer and will sell you a Forgotten Crossroads map for 30 geo.
When you purchase the map, you will discover that you are missing a compass. The Wayward Compass is now available for purchase in Dirtmouth, in the building close to the left of the well. Purchasing the compass will cost you 220 geo from a shopkeeper named Iselda. Make it your first major purchase. If you have to grind it out by fighting weak foes until you can afford it, do so.
Getting to know the vendors
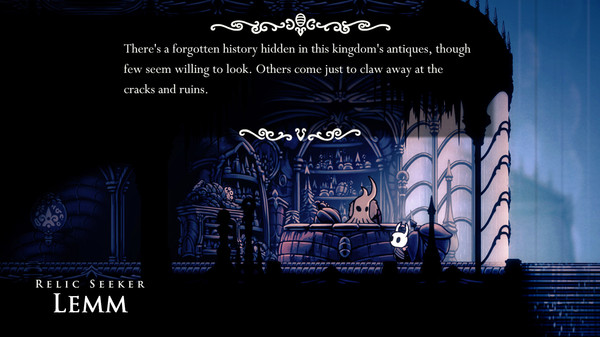
Firstly, each vendor does more than just sell goods or purchase them. You will also receive a prompt to listen when you move closer to them. They will reveal details about the game’s lore that you haven’t been told explicitly. A vendor such as Jiji, or the Shade vendor, will return your entire shade to you, i.e., restoring all your Geo and repairing the Soul Vessel for the price of 1 Rancid Egg.
There is a building to the east of Dirtmouth that requires a Simple Key to unlock, where he is located. The vendor, Sly, can supply you with this key. Like the vendor in Fungal Wastes, other vendors can repair your charms. The City of Tears also contains vendors who will take your useless items. In the event that the prices of goods are too high at some vendors, a charm called Defender’s Crest will reduce those rates.
Hollow Knight Beginner’s Guide for Benches
When you enter a new place, you should instantly search for a bench to sit on. When you sit on one of them, it acts as a checkpoint, so make sure to take a break before continuing your quest. You can also equip charms if you sit on a bench.
You can get a few things to aid you out while you’re in the Dirtmouth region. A Quill may be purchased for 120 geo, which allows you to add to maps. As a result, taking a break on a bench will provide an opportunity to fill in previously unmarked areas. If you wish to discover benches more quickly, you could also buy a Bench Pin for 100 geos. The location of the benches will be immediately pinned to your map.
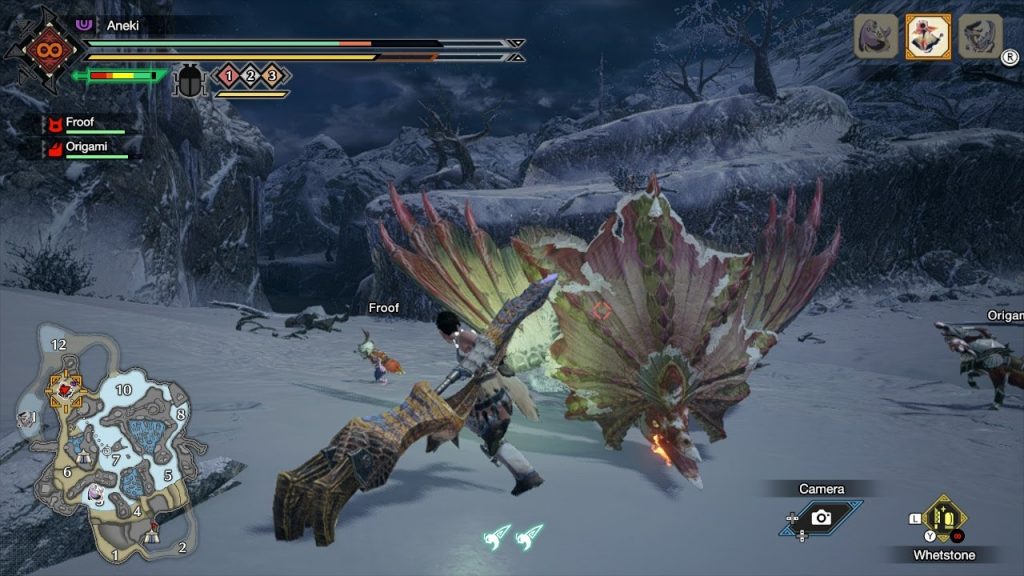
If you like monster games, then you must read A Guide to all the monsters in Monster Hunter Rise.
What to do in boss fights?
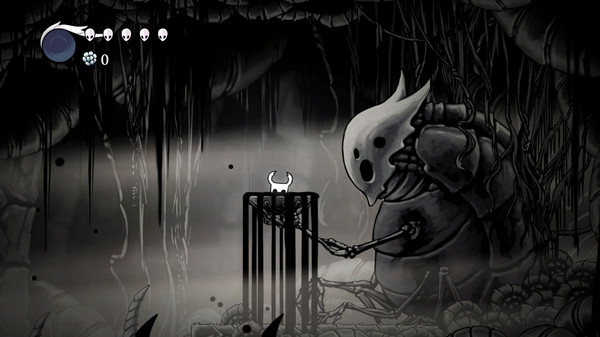
These boss encounters, like those in Dark Souls, can be excruciatingly difficult until you learn to recognize patterns and so anticipate their attacks and moves. Because you are most likely to lose the Geo on your first attempt with the boss adversary, it is preferable to expend all of your Geo or rest on a bench before engaging in combat.
Don’t be too concerned about dying; each time you die, you’re learning something new, and as time passes, you’ll get better and smarter. Mini-bosses or secret bosses can also be found in select regions, requiring the breaching of barriers or the activation of hidden passageways.
Use Magic
All magical spells deplete the same amount of soul. This implies that if you heal too often, you won’t have enough soul to unleash a devastating strike when you need it. This attack has the potential to save you from taking significant damage from a persistent, agile foe. Throwing magical spells all over the place also prevents you from healing until you do more damage to your nail. As a result, you’ll need to find a balance.
In general, utilizing only the nail to remove any enemies you face early in the quest pays off. This frees up soul energy to be used for healing. Enemies can attack you a few times, if not more before you’re able to eliminate them. Bosses, in particular, are incredibly capable of doing massive amounts of damage in a short amount of time. One advantage of being accustomed to defeating most enemies with only your nail is that you learn the abilities necessary to persevere as Hollow Knight’s story unfolds and the difficulties get more difficult.
For more Guides, Tips, and Tricks
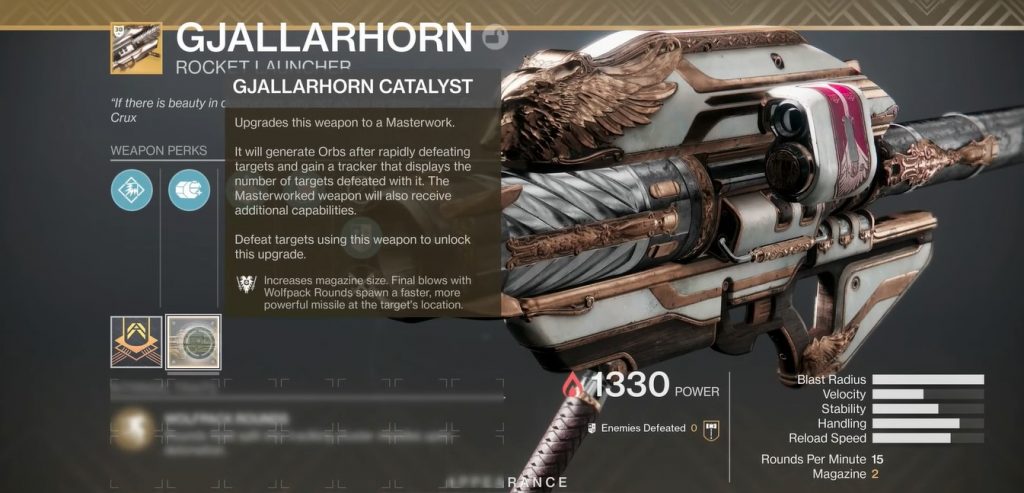
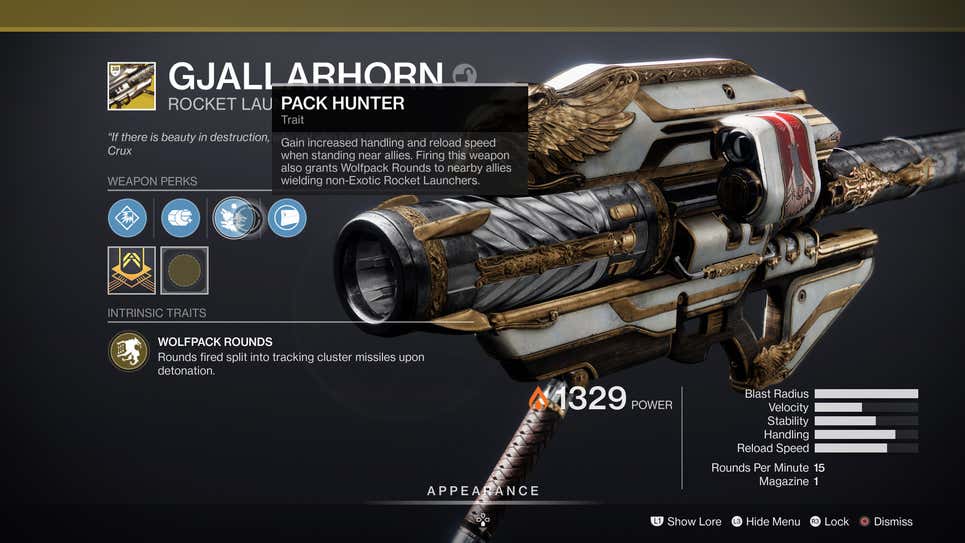
- How to get the Destiny 2 Gjallarhorn and the Gjallarhorn catalyst – Guide
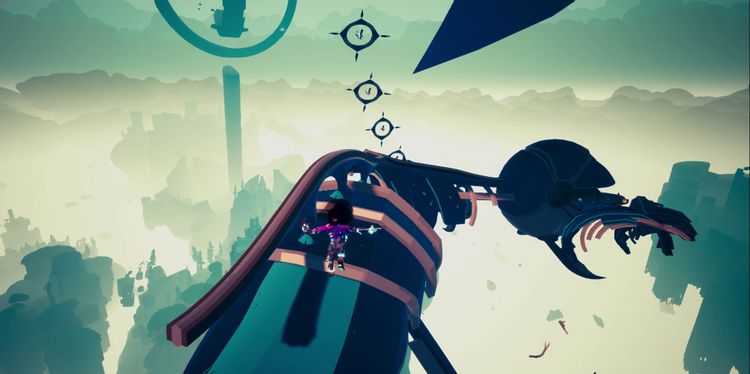
- How to find all Mirrorsea Voidrunner Caches in Solar Ash – Guide
- Best Class to choose in FFXIV
Check out our Video Games Guide Section for more dedicated guides.