In Solar Ash’s Mirrorsea, there are six Voidrunner caches, and finding them all is worth Rei’s time. The Mirrorsea Voidrunner Caches Guide is below.
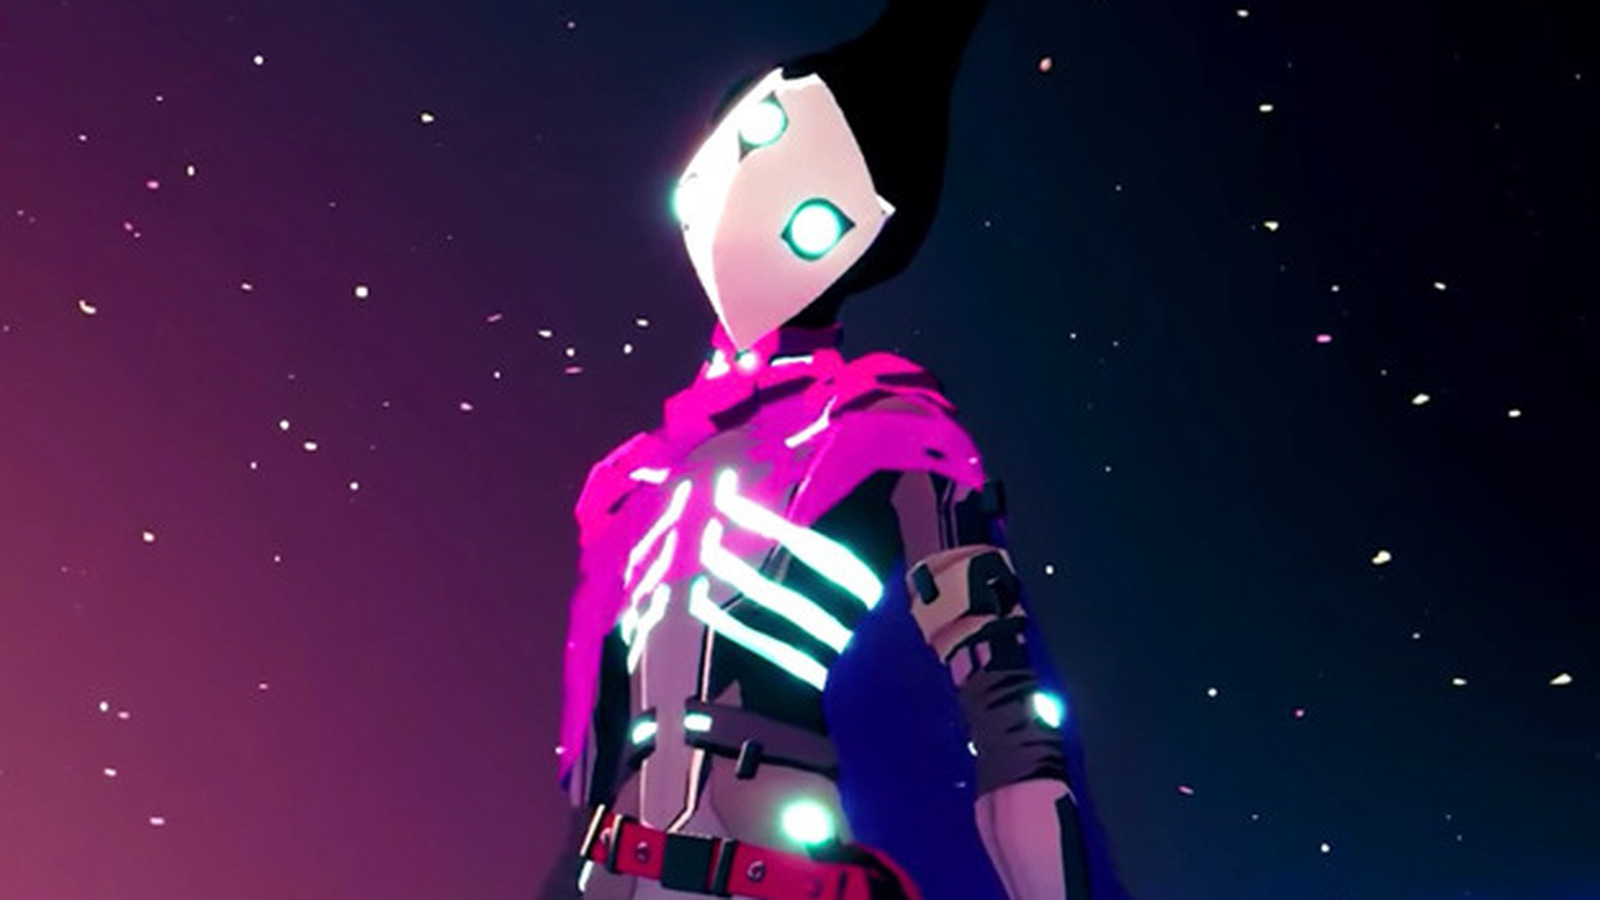
Solar Ash is set in a large, diverse, and lonely universe that dwells within the Ultravoid, a black hole. There are a variety of artifacts to be found in the Ultravoid, including audio logs known as Voidrunner caches that were left behind by a group of Voidrunners bent on preventing the Ultravoid from destroying the home planet. Rei, the protagonist, can locate these caches in order to learn what happened to the rest of her squad.
Six of these Voidrunner caches are in the Mirrorsea area, one of Solar Ash’s later regions. Each one has a log from Ghozam, Rei’s fellow Voidrunner. Finding all of Ghozam’s caches allows Rei to put on his suit, which increases her attack strength against hostile Remnants by a factor of two. Here is a Mirrorsea Voidrunner Caches Guide that will help you find all caches.
Mirrorsea Voidrunner Caches Guide: In the Sky-High Cloud Island Cave
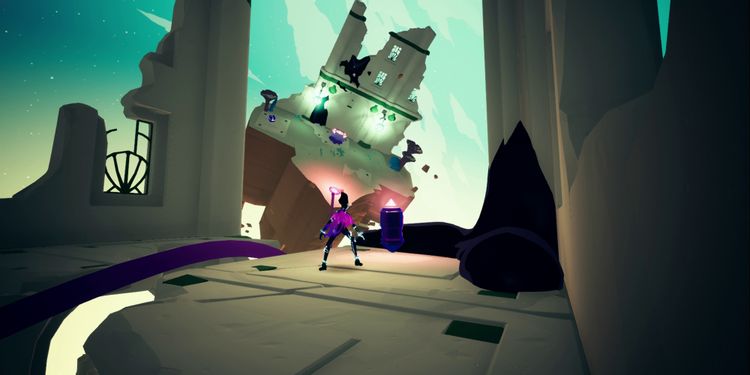
The first “labeled” Cache is on the island near the Pavillion, near the Cyclodorean Vault underneath it, at the peak of that impossibly towering plume of cloud sea. Follow the cloud up to the island, then work your way through the platforming challenges until you reach a tunnel that runs through the island’s center and out the other side.
Once you’ve reached the island’s bottom, open the Void-infested gate nearby, then attack the plant that creates the grind rail on the other wall. This rail should take you into a cave where you’ll find the first Cache.
Mirrorsea Voidrunner Caches Guide: Sky-High Cloud Plume
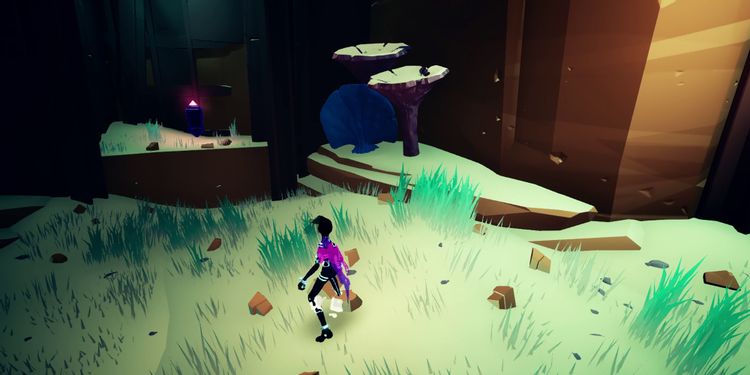
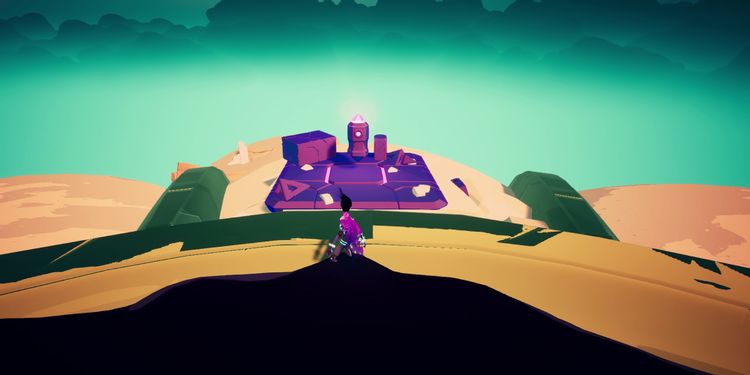
The Second Cache is far easier to locate than the first. Return down the massive cloud sea plume and loop around to the other side. We advocate navigating around the left side of the plume because the right route requires a lot of platforming over the hazardous water.
When you see the entrance to this man-made building in the second image above, you’ll know you’ve arrived at the rear. Enter this building to obtain the second Cache as well as an opportunity to read a fascinating Journal written by another Ultravoid survivor who has long since passed away.
Mirrorsea Voidrunner Caches Guide: The Ruins Roof
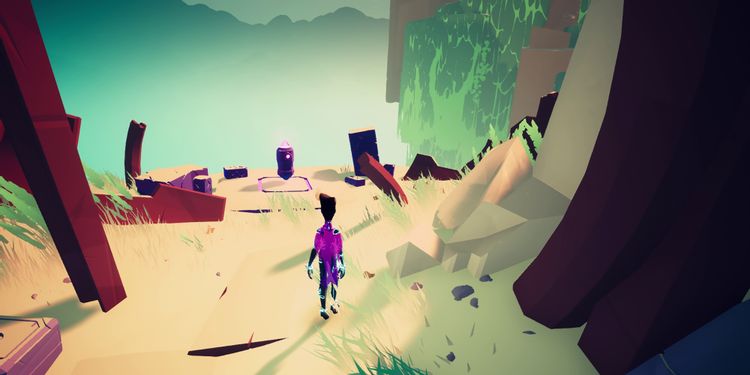
This Cache exemplifies what we mean when we say their arrangement is a jumble. Almost all the other Caches in Mirrorsea are located when you reach the man Cyd platform, but this one is found a long way before that. You’re almost there as you reach the deadly waterfall and see two Grind rails exactly across from each other, each connected to a jump pad. Look to your right after taking the jump pad up to the next platform with a grind rail plant.
You should be able to jump to a large fossilized-looking plant. Take the route that leads you vertically up the wall and past two of those little white Void-creatures. Admiral Ames has you looking for the first missing crew up here.
However, just behind them lies a tiny cluster of ruins where the third Cache is present. Once you’ve arrived at these ruins, use the grind rail plant to enter the open area on the left of the structure, then spin around to view the luminous Voidrunner Sigil on the opposite building’s wall. Simply ride up the grind rail plant in the building you’re in, and you’ll be right in front of the third Cache.
Mirrorsea Voidrunner Caches Guide: The Sky-High Island Underside
You’d think the two caches on the island in the middle of the tall cloud sea plume would be numbered consecutively. However, they aren’t, so prepare to return to this island. Once you’ve arrived, return to the island’s bottom and climb to the top until you encounter more of the same ruins as Cache 3. You’ll know you’ve arrived when you see the ruins with the two bird-like Voidcreatures hanging about them.
Circumambulate the building until you see the side with the grind rail plant and Voidrunner Sigil on the wall, then activate the plant to send the rail up and over the structure. Grind on the rail, then leap and return the opposite way. As you’re jumping off the Rail, you’ll see that the fourth Cache is right there, just as you’re crossing the roof of the ruined building where the Sigil is.
If you are a Final Fantasy fan, then you must read Best Class to choose in FFXIV
The Pavillion
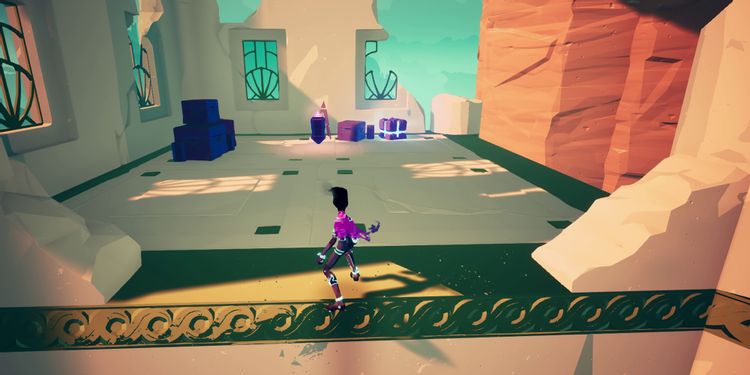
After clearing the anomaly here, most players saved this for last, you will be able to access the Voidrunner Cache. As for the anomaly, once you have cleared it out, you can reach this one just by reaching the roof of the Pavillon.
For this, ride up the anomaly ooze to the second floor of the Pavillion by hitting the grind rail plant near the entrance. On your way up you should be able to see a rectangle of the bone-like armor the Massive Anamolies wear. You can use that rectangle as a platform to jump up to the globule of black goop in the center. The fifth cache will be on the roof after you climb up using this sludge.
The Floating Cyclodorean Ship
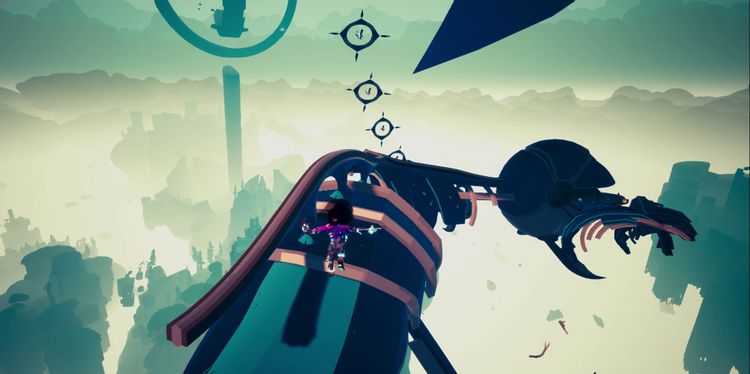
Unfortunately, most players are the first to locate the last Cache. While climbing steadily up the Cyclodorean Fleet that remains floating above the Mirror Sea, you’ll come across this cache. There is so much debris scattered around that it’s easy to miss the Voidrunner Sigil in this section. You’ll find this final cache just above the main Cyclodorean vessel with Admiral Ames just after you uncover the last grind rail shortcut (just in case you fall).
On the other side of the two jump pads, get on the intact ship on the other side, and just past it, there should be floating debris bearing the Sigil. You will find the final Cache on another intact ship hanging off on its own if you take a right and use a grappling point, ride the two Grind Rails. You will receive Ghozam’s Suit if you manage to collect all six caches in the Mirrorsea. It is the most powerful suit out of the bunch, doubling your attack power by more than two times.
For more Guides, Tips, and Tricks
- LEGO DC Super Villains Codes and how to redeem them
- How to get every Eevee Evolution in Pokemon BDSP
- Roblox Weight Lifting Simulator Codes, December 2021
Check out our Video Games Guide Section for more dedicated guide