We have the Genshin Impact Three Realms Gateway offering guide that will help you to solve all the puzzles in the quest.
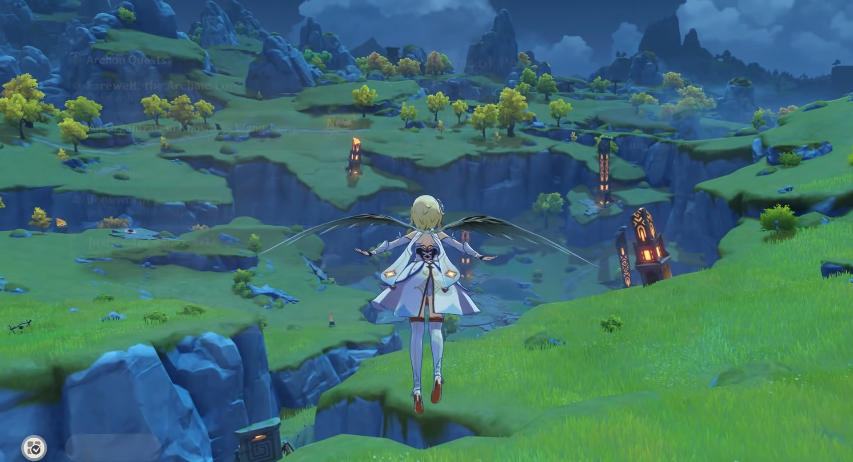
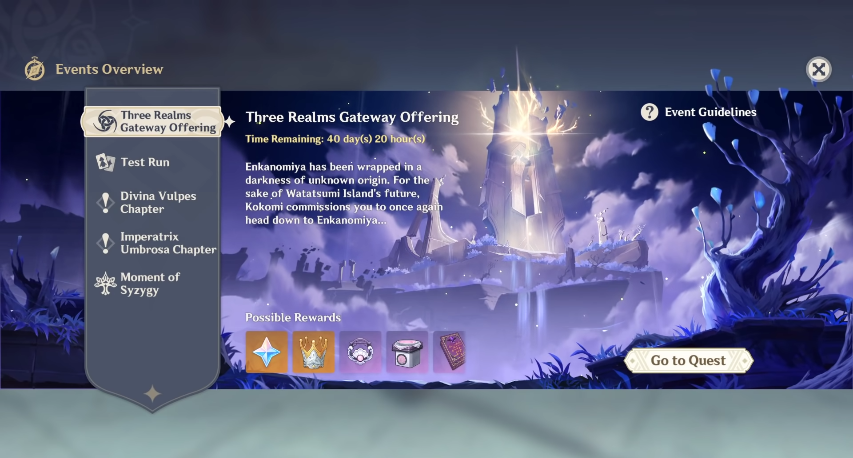
In Genshin Impact, the Three Realms Gateway Offering was introduced in Update 2.5. The Traveler is sent to Inazuma below Watatsumi Island to defeat an unknown entity. Three Realms Gateway guides you through overcoming the puzzles and challenges presented by the game.
Three Realms Gateway Offering Guide: How to Unlock
The Three Realms Gateway Offering has two stages of criteria, the first of which is that you must have arrived in Inazuma. To reach Inazuma, you must have Adventure Rank 30 and have finished the Archon Quest “Chapter II: Act I – The Immovable God and the Eternal Euthymia.”
That’s not all; you’ll also need to have completed the region’s plot and unlocked Enkanomiya. This occurs after completing the Archon Quest “Ritou Escape Plan” as well as the World Quests “The Moon-Bathed Deep” and “The Still Water’s Flow.” After that, you must finish the Archon Quest “Chapter II: Act II – Stillness, the Sublimation of Shadow” as well as the World Quest “Erebos’ Secret.”
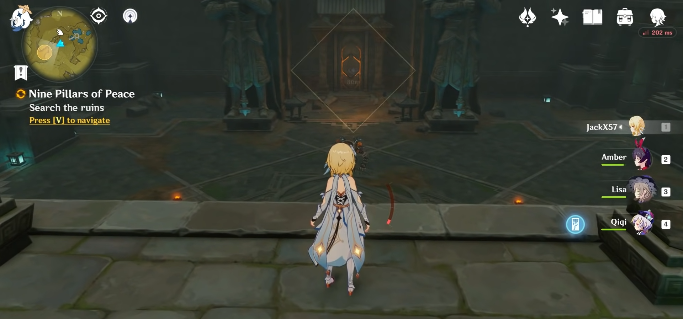
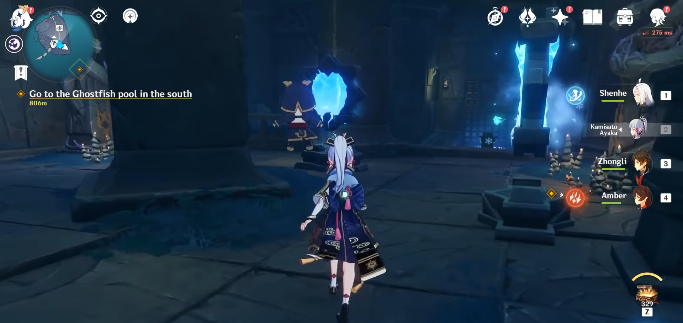
After you’ve completed the prerequisites, the “Three Realms Gateway Offering: The Eve” Event Quest should appear in your Quest Log, instructing you to visit Sangonomiya Shrine and talk with Sangonomiya Kokomi. She will ask for your assistance in locating her men and removing the corruption from Enkanomiya, which is located under Watatsumi Island.
Three Realms Gateway Offering Guide: Bokuso Box
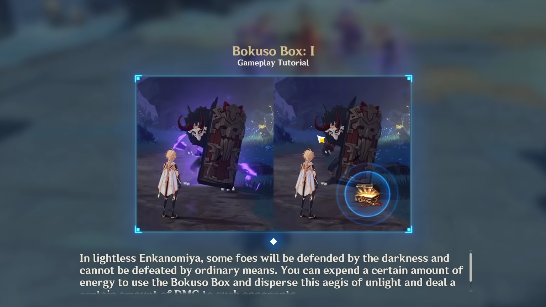
Tsumi, a strange snake-masked lady who requests you to help rescue Enkanomiya by utilizing the Bokuso Box Gadget to expel corrosion from the region, will offer you the Bokuso Box Gadget during the “Three Realms Gateway Offering: The Eve” Event Quest. Certain enemies will generate a purple aura that renders them hard to kill, but you can remove this corrosion by finishing them off with the Bokuso Box.
You’ll also need to cleanse event-specific materials before you can pick them up, and you won’t be able to open any Time Trial Challenges or Sentou Trials without first clearing the surrounding aura.
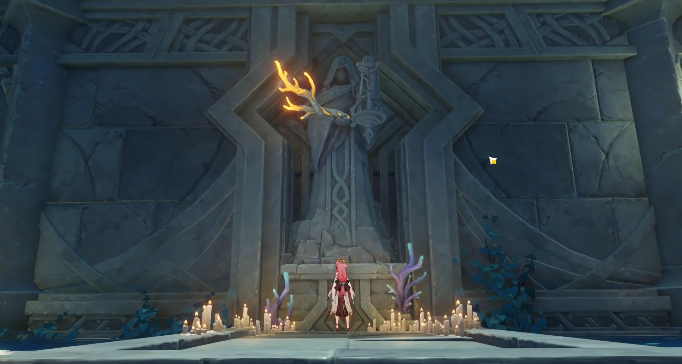
The Bokuso Box will lose energy as you go through Enkanomiya, based on the amount of Corrosion Intensity in the region. On the map, you can see how much each location is affected, as well as how much the Gadget will be drained. The energy of the Box may be recovered at the Vassals’ Statue, which is denoted on your map with a coral symbol. To recover the Statue’s energy, just select the “Recuperate” option, while to enhance it, use the “Offering at Statue” option.
Light Conches and Coral Butterflies can also help the Box recoup some vitality. Light Conches are shining mounds that replenish energy when touched. They may be found all across the map. Coral Butterflies have a similar effect, except instead of rocks, they’re butterflies flitting around. To improve the Bokuso Box in the Statue of the Vassals, you must gather Light Realm Sigils.
Light Realm Sigils
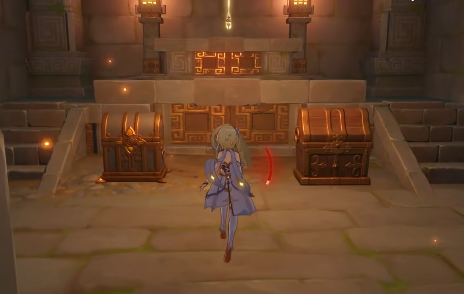
Light Realm Sigils can be obtained in one of four ways. The most common method is to look for treasure boxes scattered across Enkanomiya. The rarer the chest, just like regional Sigils like Electro and Anemo, the more you’ll get out of it. During the occasion, chests are everywhere; you’ll almost certainly see one in every direction. However, they do not respawn, so once you’ve opened one, you’re done.
After completing the Sentou Trials, you will get a handful of Light Realm Sigils. They are event-specific Time Trial Challenges in which you must beat enemies within a set amount of time. Sentou Trials, unlike chests, regenerate after you Recuperate at the Statue of the Vasslas, allowing you to confront them as many times as you like, thereby offering you a simple option to harvest the Sigils. Waypoints and the Three Realms Gateway Offering Event are the last two ways to obtain Light Realm Sigils.
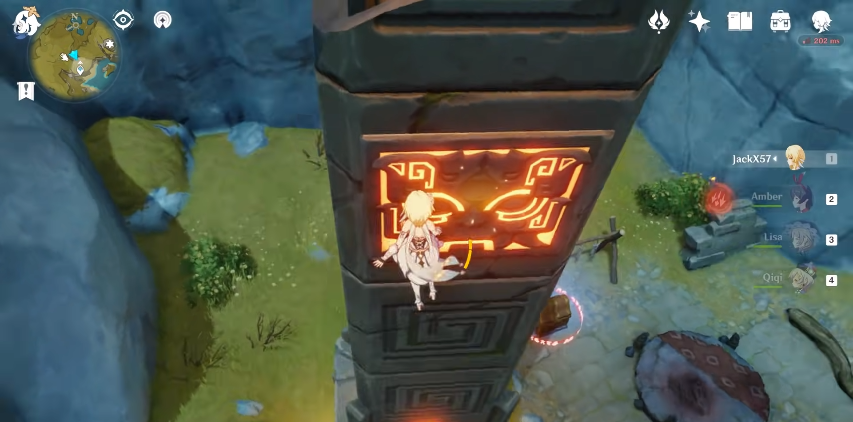
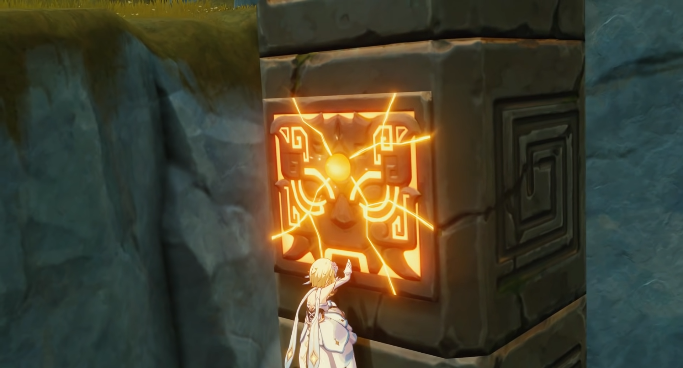
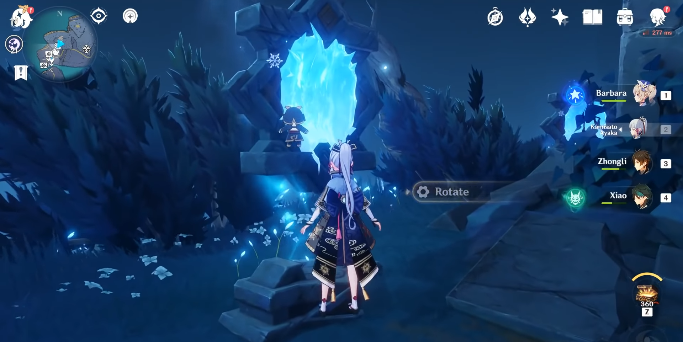
Three Realms Gateway offering guide: Frozen Mirror Light Beam Puzzles
Puzzle 1
The first Mirror Light Beam puzzle is located in the southwest corner of the map. Enter through the little gap there and go to the right until you reach a room. Start your journey north by lighting the flame there. To receive a common chest, light the torch to your left and then to your right. Go counterclockwise from the light beam and rotate the northernmost mirror once. After that, freeze the next mirror and melt the one next to it. Before activating the beam, rotate it once.
Puzzle 2
The second Mirror Light Beam puzzle may be found on the map’s western side. The light beam is one of just three towers in this area. Once, rotate the center mirror. The third mirror should then be frozen.
Puzzle 3
The third Mirror Light Beam puzzle may be found approximately north of the teleport waypoint in the southern half of the map. To complete this puzzle, begin at the far leftmost pillars and spin the frozen mirror three times to the left. After that, spin both of the middle mirrors once more. Finally, once again, rotate the remaining frozen mirror to the right.
Puzzle 4
The fourth Light Beam puzzle may be found to the south, close to the teleport waypoint, in the Corrosion Intensity 105 zone. There are four mirrors in this room, and you’ll begin with the one on the left. Three times rotate the mirror to the left. Rotate the mirror five times before moving on to the next one. Repeat the process on the next mirror. The mirror on your right should not be rotated. To finish the problem, activate the beam.
Puzzle 5
The next Light Beam Puzzle may be found in the same place; simply head north of the island and look for floating mirror beams. As you get closer to the light beam’s edge, you’ll see a moving platform that will lead you to the beams. To solve this problem, freeze the first mirror and rotate it three times. Wait three times for the platform to move before rotating the next mirror.
Puzzle 6
On the Corrosion Intensity 118 zone, continue south. Next to the larger island, you’ll discover a little islet. Start by freezing the middle mirror nearest to you, adjacent to the candles, to solve this problem. It should be rotated three times. Rotate the mirror on the far left three times. Return to the center mirror and rotate it once more.
In the easternmost part of the map, in the corrosion intensity 60 zone, there are three more light beam puzzles.
Remaining Puzzles
- The first light beam puzzle may be found by dropping down to the region. The first thing you should do is melt all the nearby mirrors. Twice rotate the leftmost mirror. Freeze the mirror on the far right. To finish the puzzle, activate the light beam. You may also simply melt all the mirrors save the rightmost one.
- Freeze the leftmost mirror in the same place, then spin it once. To receive another chest, activate the beam. You’ll discover another Light Beam puzzle if you go down to the freshly accessible section. To begin, freeze all the mirrors in the area, then spin the rightmost and leftmost mirrors once each.
- The next Light Beam puzzle may be found on the eastern side of the three realms portal. Here, the Corrosion Intensity is 73. A light beam puzzle may be found by entering the little opening there on the wall. After freezing the leftmost mirror, spin both middle mirrors once. To obtain a chest, activate the beam.
The last light beam puzzle
The last Light Beam puzzle may be found at the teleport waypoint in the westmost area of the map. When you arrive at the location, the puzzle is immediately evident. The final puzzle is solved when you: rotate the leftmost mirror three times. Freeze the mirror on the far right. To finish the puzzle, activate the light beam to your right.
For more Guides, Tips, and Tricks
- Horizon Forbidden West Guide – 10 Things Everyone Should Know
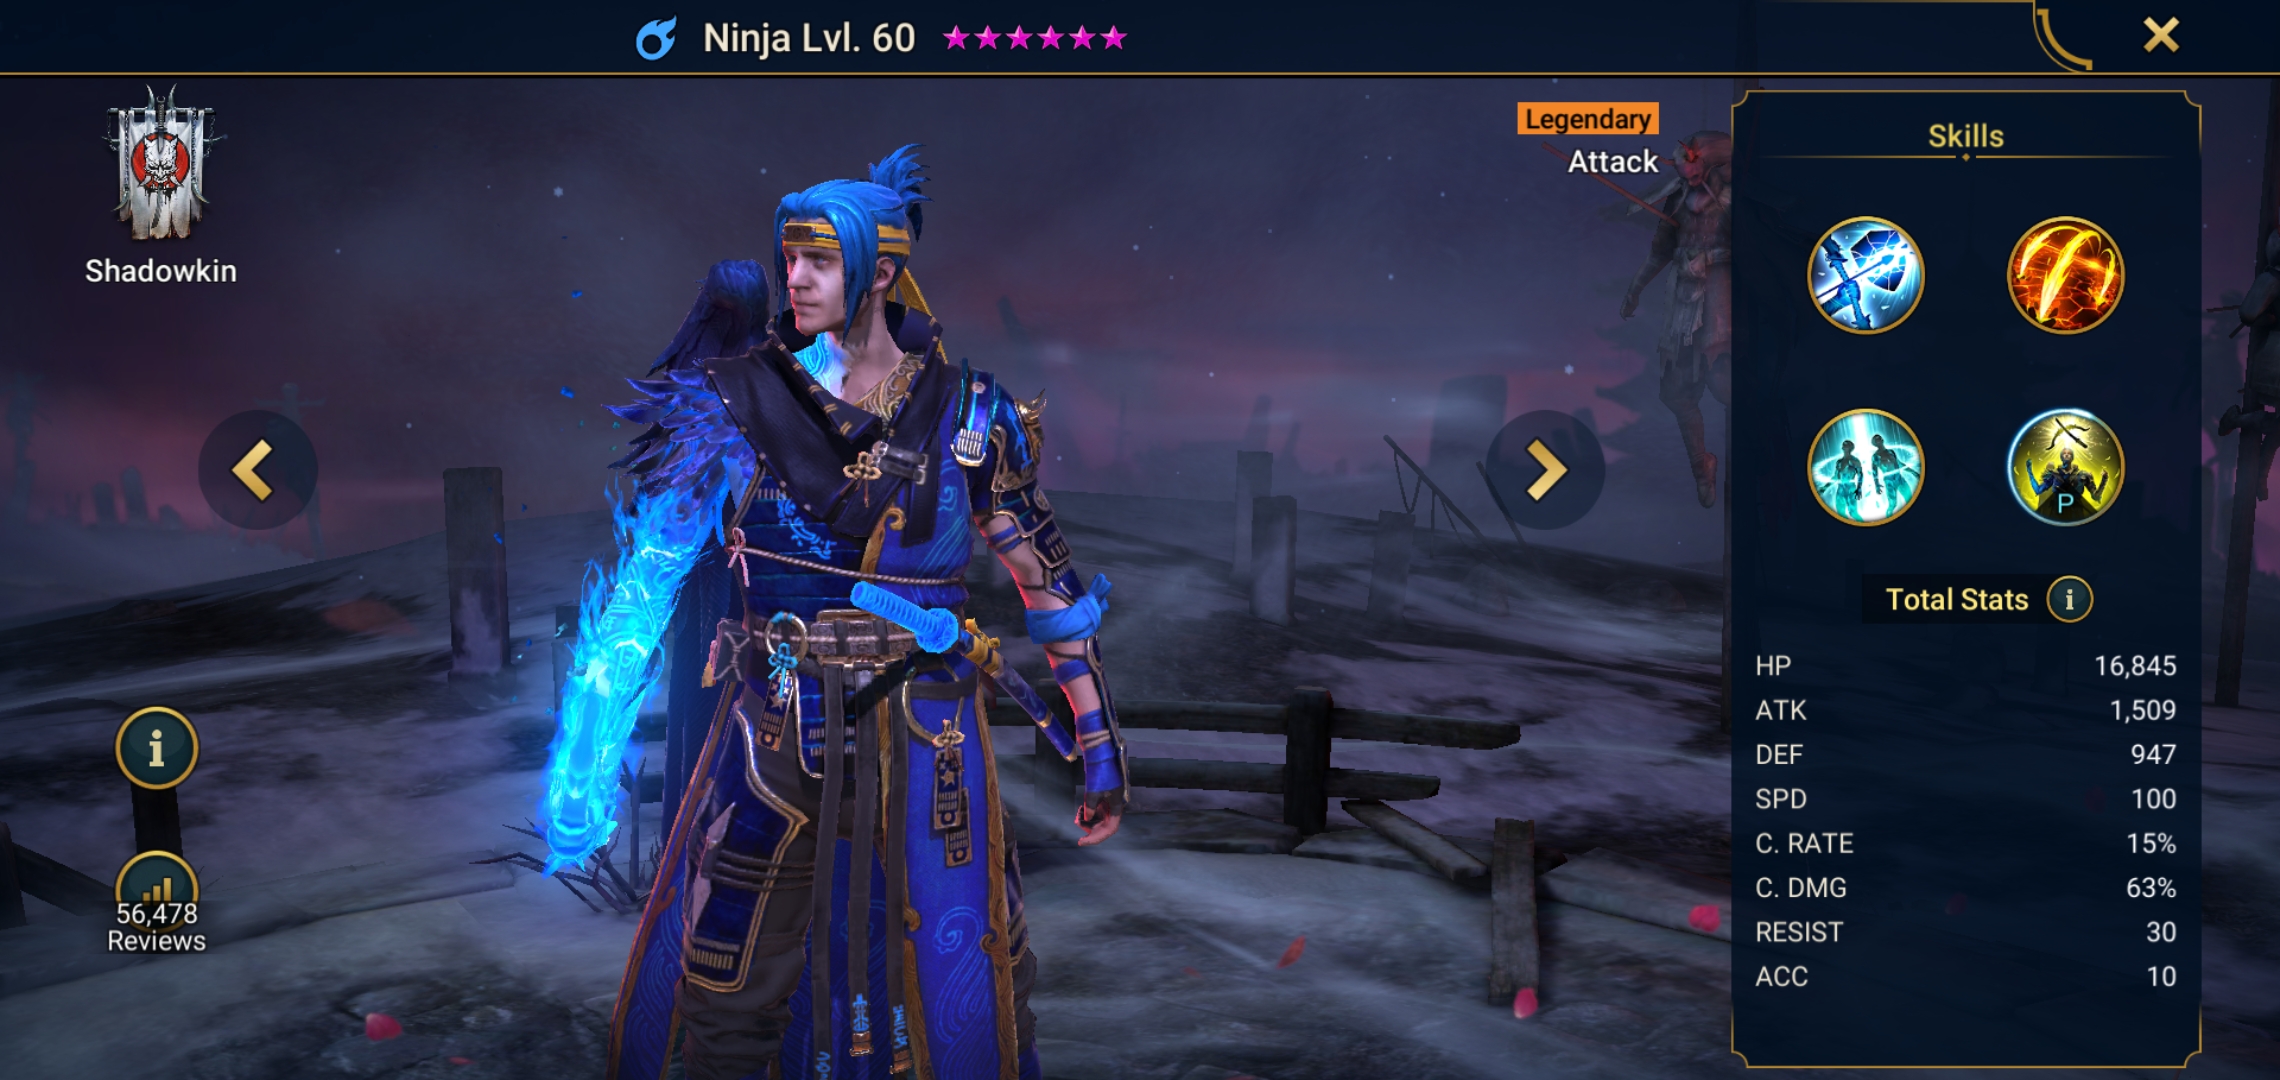
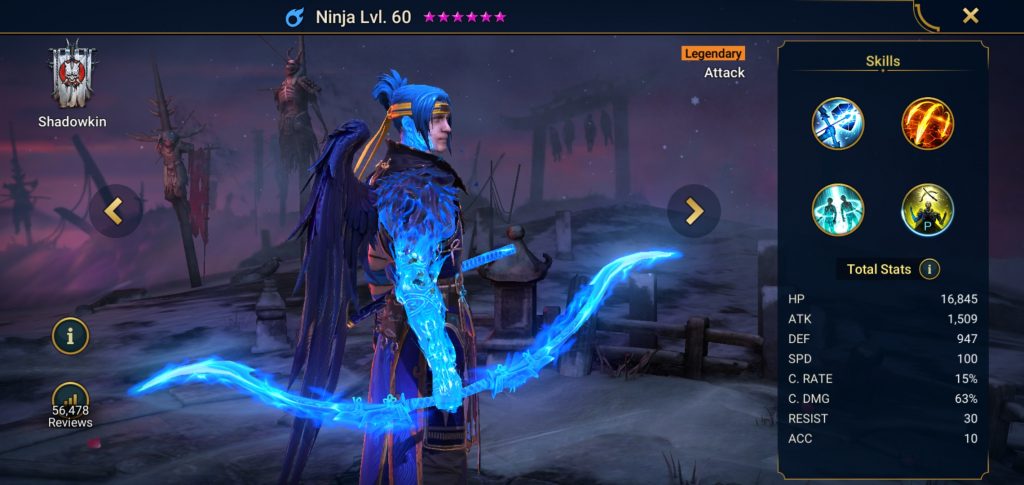
- Raid Shadow Legends Ninja Guide – Best Tips and Tricks
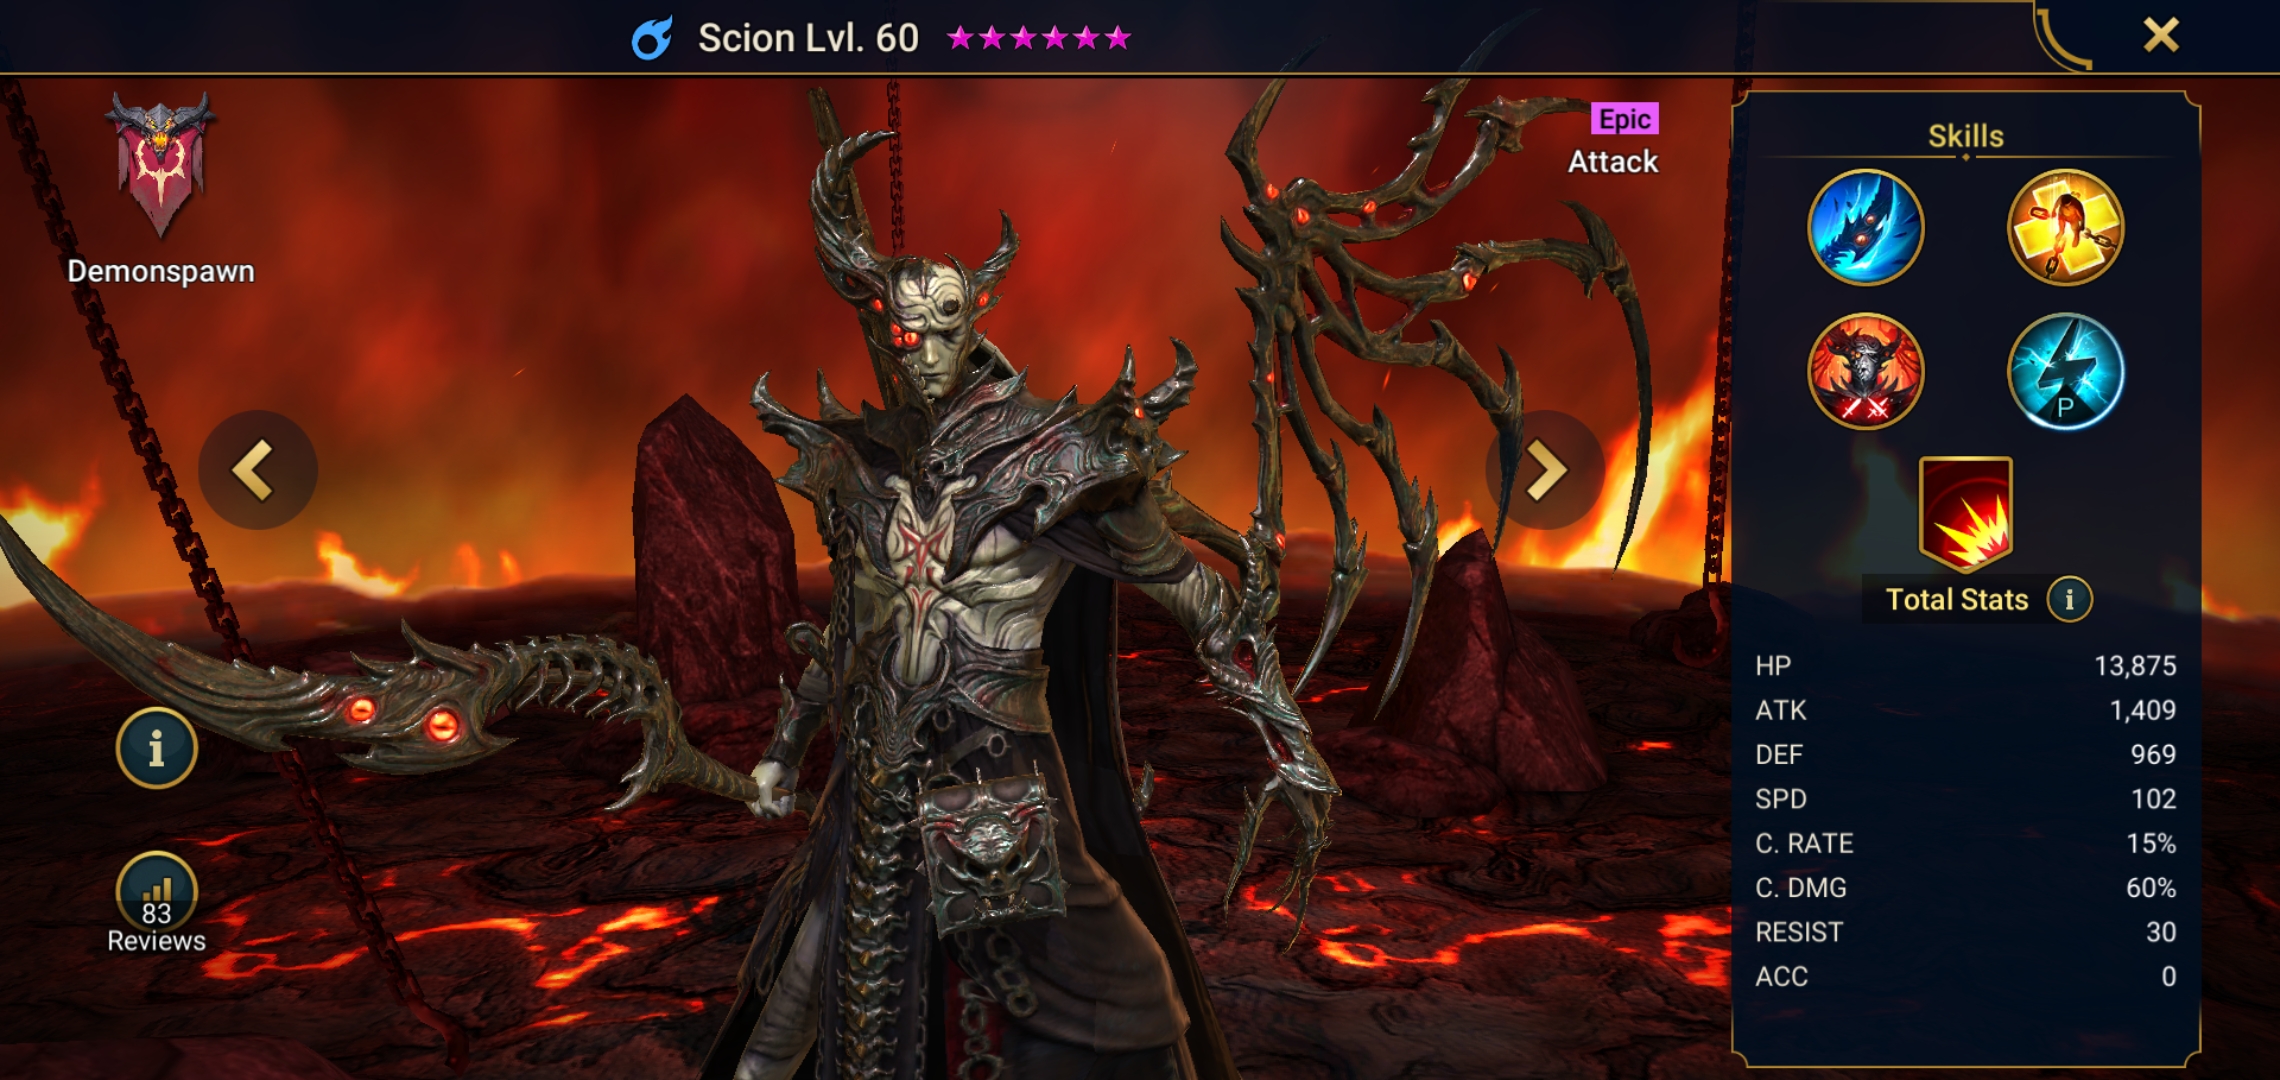
- Raid Shadow Legends Scion Guide – Best Tips and Tricks
You can also check our dedicated Video Games Guides section.