Here is a Divine Beast Vah Medoh Guide that will help you solve the dungeon. Follow the steps carefully and finish it with ease.
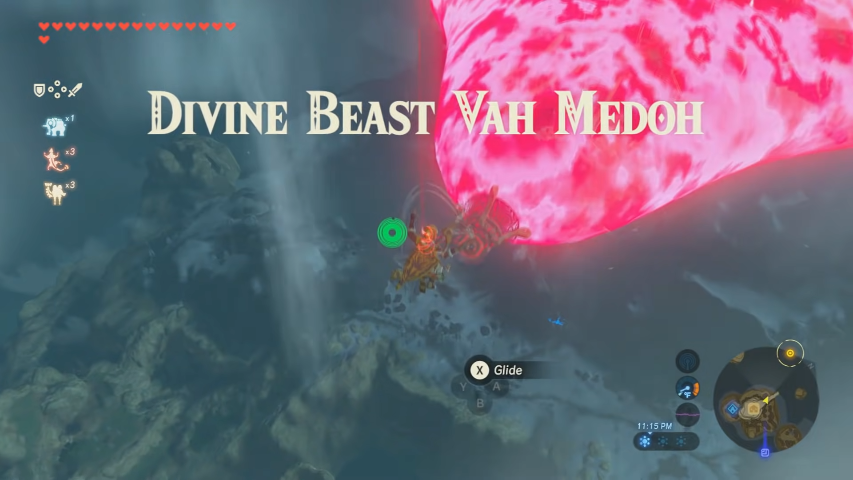
Vah Medoh, the Divine Beast, has been teasing you from the beginning of Breath of the Wild. We’ll teach you how to get there, how to solve the challenges, and how to beat the boss in this tutorial. You must prepare before embarking on your trek to the Divine Beast Vah Medoh.
Having a boatload of arrows and the correct armor are the two most important aspects of preparing. Below we have a Divine Beast Vah Medoh Guide that will help you to solve this and move on further in the game.
More Zelda: Breath of the Wild guides:
- Shae Loya Shrine Guide – Zelda: Breath of the Wild
- Mirro Shaz Shrine Guide – How to Beat the Breath of the Wild Dungeon
- Sheh Rata Shrine Quest Guide in Zelda: Breath of the Wild
Divine Beast Vah Medoh Guide
To upgrade your new snowquill armor, warp to Ta’loh Neg shrine near Kakariko village and speak with the Great Fairy. Wearing all three pieces of snowquill armor will not only boost your armor’s power but will also boost your cold resistance. You’ll meet Teba at the Flight Range. Upon completing his quest, you will be given the falcon bow and 20 bomb arrows. The area around a cooking pot also features a swallow bow.
To begin the Vah Medoh dungeon, go to Rito Village and look for Teba in the Flight Range. You’ll be swept into the sky after the brief trial, and you’ll have to knock down the Beast’s defenses before boarding.
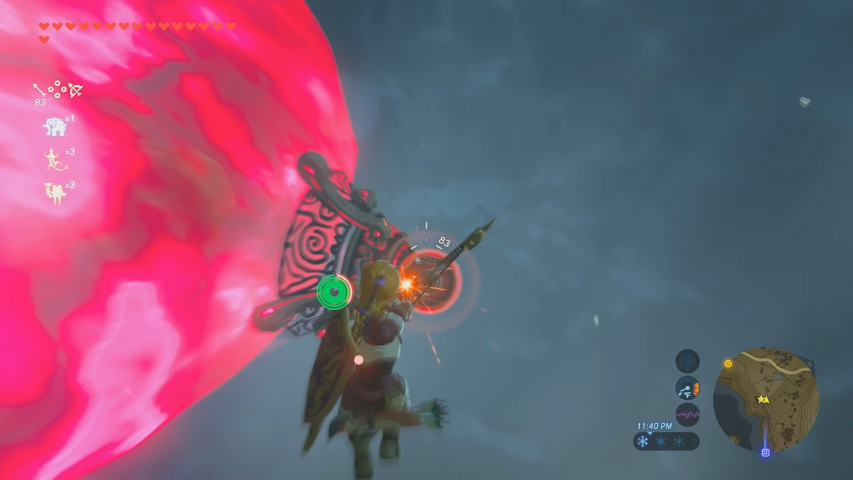
The Beast is surrounded by four cannons, which you must shoot. Glide over to each one and point a Bomb Arrow at them when you’re near enough. Because of the distance, you may need to move up close or shoot a little higher, putting you in great range for laser assaults. Wait a few minutes after you’ve been locked on, then cease gliding. This causes you to descend suddenly, guaranteeing that the laser will miss you by a significant margin, before returning to the same height and continuing.
The cannons can be destroyed by two hits each, and you can fire them quickly one after the other. When the four canons are down, you will have easy access to the Vah Medoh dungeon if you do not fire or get close to the red forcefield.
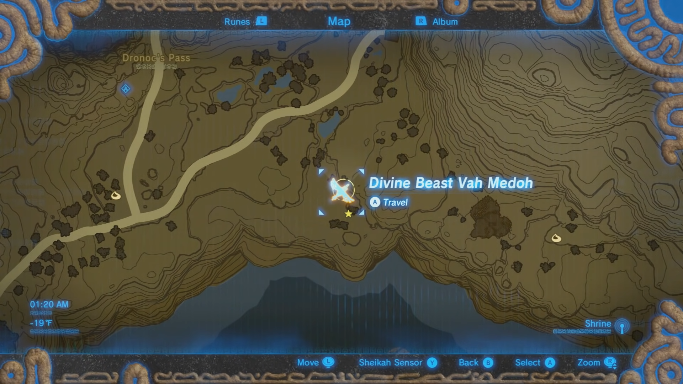
Divine Beast Vah Medoh Guide: Location
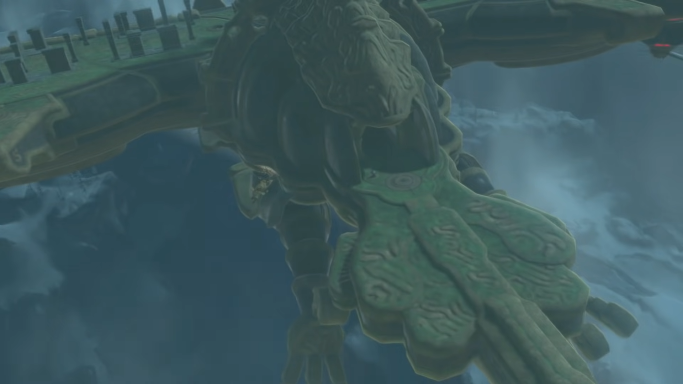
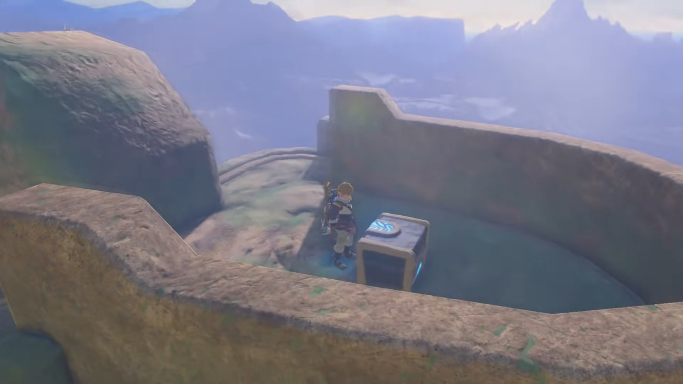
You’ll arrive on Divine Beast Vah Medoh after destroying the canons, and you’ll instantly interact with the first terminal here to discover how to go to the map terminal. Your objective is to interact with all of the terminals before fighting the monster. Turn around before entering and shoot the eyeball in the ooze to get access to a treasure box containing a sapphire.
To clear the route ahead of you, enter the Divine Beast’s guts and shoot the eyeball in goo. Drop to the bottom level and eliminate the eyeball in goo that is obstructing your exit. This opens the door to the chamber and reveals a treasure chest containing an old shaft.
Take a tour around the circumference of Divine Beast Vah Medoh. Destroy one eyeball to reveal a fan that is blowing up, then circle around to destroy another eyeball to reveal the second entrance to the area you were in previously. Return to the chamber and use your paraglider to ride the upward draught to the level where the Divine Beast Vah Medoh is located.
Divine Beast Vah Medoh Guide: Chests and Map
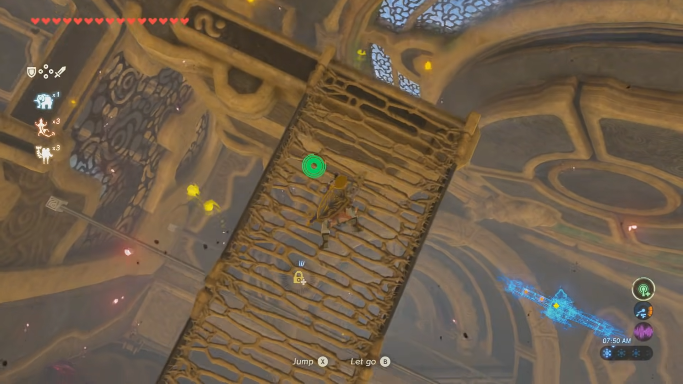
Rather than falling, this time take the ascending path at the entrance and turn left. On the left-hand side of the chamber are two treasure boxes. Climb up to locate a treasure box containing an old core by grasping the climbable section illustrated in the upper image. Paraglide left to the other treasure box, which contains five bomb arrows, by jumping off the far side.
Retrace your steps back to the entrance. Jump over the platforms using magnesis by pulling a metal block toward you. The guardian is on the other side of the gap, so you must fight him and steal his spear. The map of Vah Medoh can be obtained by interacting with the terminal down the hallway.
Located along Vah Medoh’s wing axis, the five terminals are marked on the map. Divine beasts can also be controlled with it. A level (center) posture, a curled up posture, and a curled down posture are the three points of movement.
First Terminal
It’s now time to obtain the first Terminal. To get access to the right-wing, tilt the Beast all the way down and slide the stone platforms to the right side. It’s impossible to hop from one stone platform to the next. As a result, you’ll have to alternate the metal platforms one by one before gliding across to the next side region, which is the right-wing, where our terminal sits.
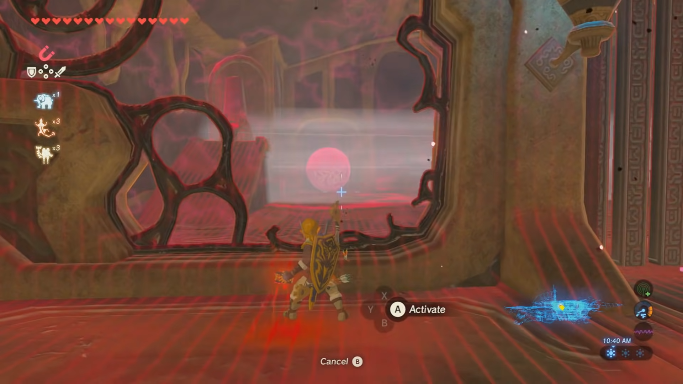
To begin, there are a couple more optional chests. Shoot the Eye on the ceiling with Ice Arrows to drop one, then tilt the Beast all the way up and push the switch to open the windows and let a blast of air through. Standing on the window, while gaining some height, glide back down the way you came, then climb up the ledge to the left, where you’ll find a Knight’s Bow in a chest on the ledge.
This area now needs to be solved. As the wind blows, you’ll see fans opposite spinning, opening two gates. As you tilt the Beast, you realize a fan will also move out of the way, stopping you from opening a gate. You want the stopper to move along the rail to the far end, hitting the switch.
Make sure that this loose fan is aligned with the right gate using Magnesis, so that the gate remains open and the stopper moves along. Hold the Beast in place as you tilt it down so the stopper reaches the end of the wing. It gains speed as it goes along the far end, passing the opening gates, then hitting a switch with some force to open the door with the Terminal inside.
Second Terminal
The left-wing is the next stop. Jump from the slanted windows of this right-wing by tilting the Beast up. Through the window across, glide over the stone and metal platform in the center room and into the hole in the wall. By tilting the stone platform and using Statis to stop it, you can climb up and hop over the climbing wall, just as you did with the Ancient Core chest.
Whichever path you go, you’ll encounter an alcove coated in Calamity muck and a Terminal behind an alcove covered in Calamity gunk. To clean the debris, run up the ramp in the far corner and shoot the eye. By tipping the Beast all the way down, glide through the alcove to activate the Terminal.
Third Terminal
You will find a switch and a chute below the ramp you just jumped from if you drop down to the lower level. Roll a bomb down the chute as you tilt the Beast. To clear a path, detonate it near the rocks.
As a second bomb is rolled, swing at the switch to activate a current of wind that blows the bomb to the far corner. Upon reaching the rock wall at the corner, detonate it to reveal a metal ball. As soon as the Beast rolls towards you, move to the other side of the room so you’re across from the metal ball.
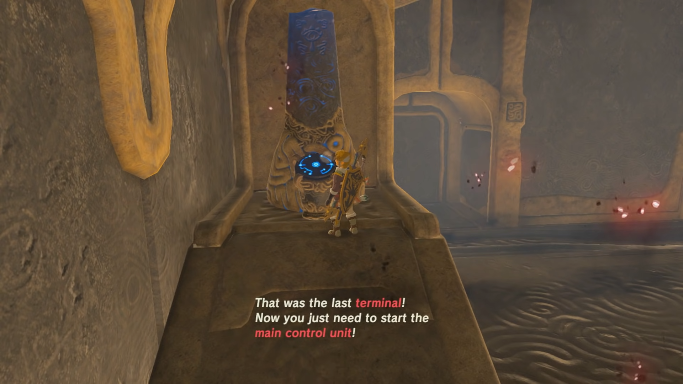
Use Magnesis to go through the wall and back to the chute. Place it down, then tilt the Beast up so it rolls with some force to the other switch, which opens the gate and allows you to enter the chamber. The Terminal is waiting to be triggered on a ramp to the left.
For more Guides, Tips, and Tricks
- Yu Gi Oh Master Duel Tier List 2022
- How to beat Great Shinobi Owl in Sekiro – Guide
- Ubisoft’s latest mobile game, Clash of Beasts: Tower Defense
You can also check our dedicated Video Games Guides section.