We have brought you a guide to “A Strange Story in Konda Quest in Genshin Impact.” We have provided an extra tip for you at the end, so read it carefully.
Version 2.0 of Genshin Impact is now available, and players may participate in a plethora of side tasks. When exploring Inazuma’s electro-themed zone, you’ll very certainly run across the Genshin Impact A Strange Story in Konda world quest, which can be found outside of Ritou at the Sky Kitsune Statue.
In “A Strange Story in Konda,” our Genshin Impact guide will show you where to find the NPCs you need to chat with and how to finish the quest.
A strange Story in Konda Quest Guide
The player can interact with a shrine woman here, who requests your assistance. To assist her, you should attack the Sky Kitsune Statue with an Electro ability. Any Electro character, such as Lisa, Keqing, or Fischl, can be used in this way. A Ward will emerge near the fox’s paws when you’ve done so.
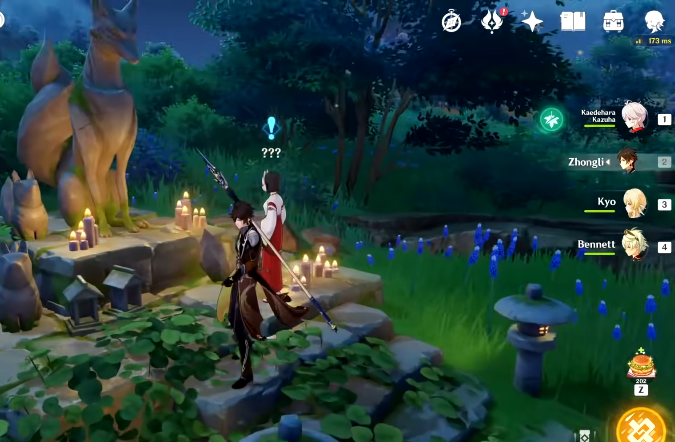
As soon as you pick up this item, the shrine lady calls you the “Destined One,” revealing her real name to be Kazari. Kazari will urge you to remove a mystery barrier in Konda, which is a little distance east of the Sky Kitsune Statue. Follow the route east to the settlement, where you will need to seek information from the residents.
A strange Story in Konda quest: Takeru
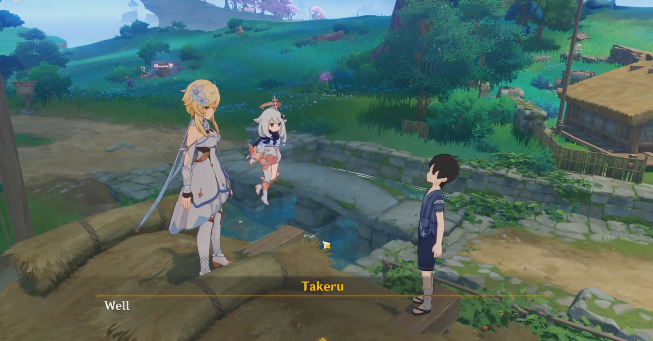
Takeru, the youngster who stands uncomfortably on a village rooftop, is the first local you should chat with. After that, the youngster will tell you to seek clues across the settlement and its environs. This will show the locations of three clues, which you may next examine using your map. The first clue is hidden in a bucket beside the closed well on Konda’s western side. A purse by the dried-up well is this piece of evidence.
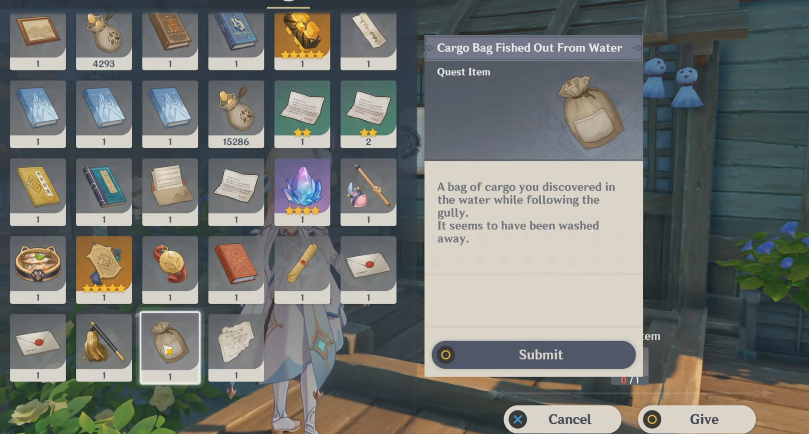
The second clue may be found by following the gully that runs through the center of town and leads to a larger pool of water. A Cargo Bag Fished from water, which is immediately in front of a challenge, may be found here. Finally, the final clue may be discovered a little distance north of Konda village. A broken-down wagon surrounded by hilichurls may be found. Disperse them as soon as possible, then gather the final clue: a Ragged List of Goods.
You’re probably stitching together a tale in your brain at this point in the journey. Take what you’ve discovered and make a bargain with the village head, who can be found near his residence in the center of the village, based on the facts and happenings. You’ll be required to give your proof when you meet Konda Densuke, the village head.
Other Genshin Impact guides
- What is Divine Bridle and How to obtain it – Genshin Impact Guide
- Genshin Impact Codes – Free Primogems, Mora, and more
- The Chi of Yore World Quest – Genshin Impact Guide
A strange Story in Konda quest: Evidence order
Here is the order in which you should present the evidence:
- Purse by the Dried-Up Well
- Cargo Bag Fished from Water
- Ragged List of Goods
Konda advises you to seek to find the chief’s journal on the rooftop to solve the mystery once you’ve been exposed with your damning proof. A few inebriated inhabitants of the community had the bright notion to plunder a Shogunate waggon, according to the journal. To protect the village’s image, the residents agreed to throw the stolen items down the well, demolish the cart, and conceal the key in a ruined home on the village’s east side. Return to the broken home with this knowledge in order to recover the well key.
Inazuman Treasure Hunters
A group of Inazuman treasure hunters can be found there, seeking the well key as well. Get rid of them, then go through the wreckage of the house to get the key. Return to the village via the Old Key. After opening the well in Konda Village, return to the spot where the coin pouch was discovered and descend into it.
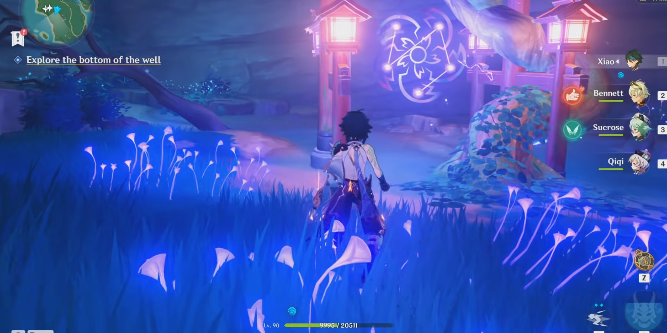
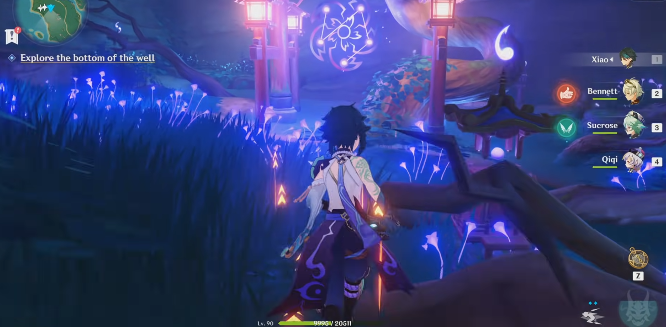
Down below, there’s a lot of room to explore. Break the Electro-boulder and go deeper down the cave to an empty cavern with water streaming into it. Interact with the Electro root to summon an Electrogranum after scouring the region for collectibles (be sure to acquire the chest down below, as well as the Electroculus). Take this and pass through the Electro barrier at the well’s bottom.
An Electro-themed Torri gate is waiting for you. To see an Electro sakura appear in the center of the Torii gate, purify the altar with the Ward obtained back at the Sky Kitsune Statue. This Electro Flower is a hint to the problem you must solve, which requires you to duplicate the pattern it contains.
Five Shrines around the Torri Gate
Around the Torri gate, there are five shrines. A number of petals can be modified on each shrine. Match the numbers in the image to each petal quantity on the shrines. Finally, go to the first shrine and pray before fighting.
Ochimusha, widely known as the “Phantom Warrior Beneath the Konda Village Well,” will attack you. To get rid of him, use Cryo and/or Pyro. Kazari will arrive and explain everything once you’ve defeated him. The roots of the Electro Sakura tree cover Narukami island, however, they are contaminated. She requests your assistance in purging the contaminated areas.
The mysterious Kazari thanks you for agreeing to aid her and then departs. That’s it; you’ve completed the task. “Sacrificial Offering” should be a new task in the “Sacred Sakura Cleansing Ritual” questline. Remember to look for the Rust-Worn Key on the wall to the right of the Torri gate, which will let you uncover more treasure on Narukami Island.
For more Guides, Tips, and Tricks
- eFootball PES Guide for Beginners 2022
- Top 5 Roblox Games you should play in January 2022
- Best 5 Agents in Valorant Right Now
Check out our Video Games Guide Section for more dedicated guide