
Below is a Valorant Killjoy Guide that will help you to learn more about Killjoy. The guide will also show you the best setups for every map.
Valorant is a tactical first-person shooting game featuring a variety of agents, each with their own set of skills. It heavily relies on planning ahead of time before engaging in gunfights. Killjoy belongs to the Sentinel category of agents. It is one of Valorant’s greatest agents.
Killjoy has been playable in Valorant for quite some time, providing players plenty of opportunities to experiment with her many devices and skills. However, because of the complexity of each instrument, it might be tough to figure out how to best position each of her devices to get the most value out of them.
If you want a chamber guide, then read Valorant Chamber Guide — Tips and Tricks
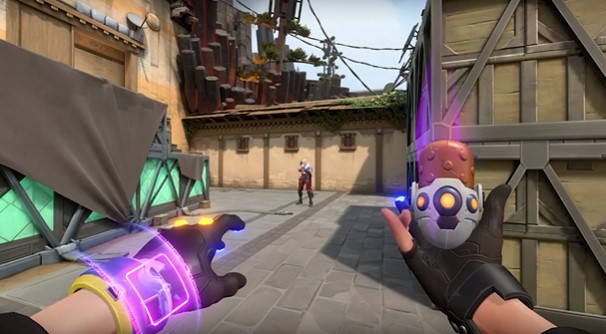
Valorant Killjoy Guide: The abilities of Killjoy
Nanoswarm
Like Cypher’s cages, a grenade that goes invisible and is detonated remotely. It causes a lot of damage and may kill adversaries swiftly if they don’t get out of their way immediately. The damage is done over time, like a strong molly, rather than in a rush of damage when it explodes.
Nanoswarm, like Alarmbot, can detect and eliminate enemies when they are close to it. It cannot be recalled, unlike Alarmbot and Turret, so be careful where you put it. Nanoswarm will have a location indication on its map, but it will not send an alarm if it is destroyed; instead, it will just vanish.
Alarmbot
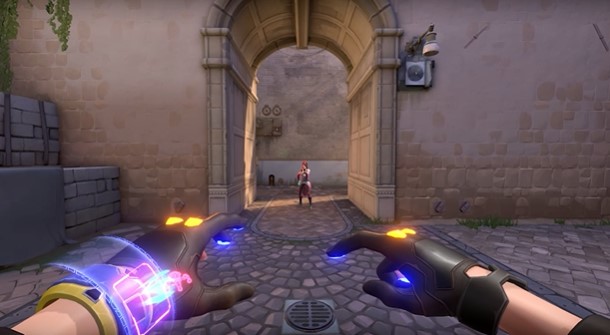
Equips and launches an invisible bot that behaves like a proximity mine, jumping to an adversary within range and exploding. A red visual alert will appear on the map when the mine is set off or destroyed. It doesn’t deliver damage on its own, but it does provide a debuff that causes the victim to take double damage for a short period (similar to Viper’s “Fragile” feature).
This debuff lasts roughly four seconds, so you may either peek for a kill or utilize Alarmbot to enhance your Turret or Nanoswarm to obtain a kill from across the battlefield. Killjoy can utilize this ability similar to how a Cypher uses his Trapwires, gaining intelligence and deterring foes from accessing critical regions like chokepoints. If an adversary comes close enough to the Alarmbot, it can be discovered and eliminated before it is activated.
To give you an idea, while it’s invisible, it takes one Classic shot to kill it, and when it’s moving, it needs two Classic bullets to kill it. Alarmbot, like Turret, may be recalled to Killjoy from anywhere on the map and planted again, although there is a 20-second cooldown before you can do so.
Turret
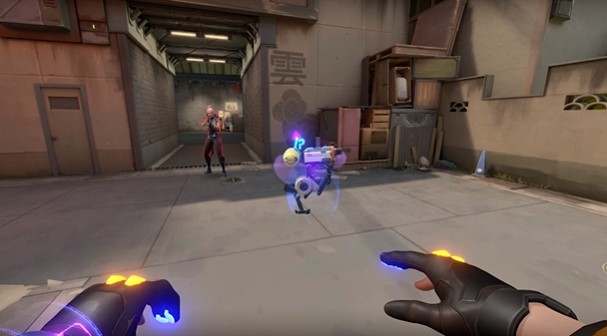
A turret is deployed that shoots at adversaries within a 180-degree cone.
Her Turret will be facing outwards by default, but you may rotate it to face you by pressing E. The Turret, unlike Sage’s wall, cannot be manually spun around. The Turret has 125 HP and shoots in three-shot bursts after a brief 0.75-second delay. Its harm is proportional to distance.
Although her Turret doesn’t deliver a huge amount of damage, it does enough to get foes’ attention and may cause havoc if you and your squad are also firing at enemies when the Turret is blazing. Killjoy will be able to use it to single hold sites, stall pushes, set up crossfire scenarios, shield her squad from flanking on the attack, and just gather intel. Once a 45-second cooldown, she can reposition her Turret after it has been destroyed.
Lockdown
Her ultimate, which sets a gadget that creates a bubble dome in a vast radius, is most likely the basis of this agent’s name. It will explode after 13 seconds. For 8 seconds, all foes struck will be greatly hindered and unable to use their firearms or abilities. The gadget may be destroyed (150HP), however, its function does not need a line of sight.
Therefore, Killjoy will be able to conceal it, such as beneath Ascent’s A Site Hell or behind Ascent’s B Site’s arches. It has a huge range, giving her a lot of map control and zoning options.
Valorant Killjoy Guide: Killjoy setup for Fracture
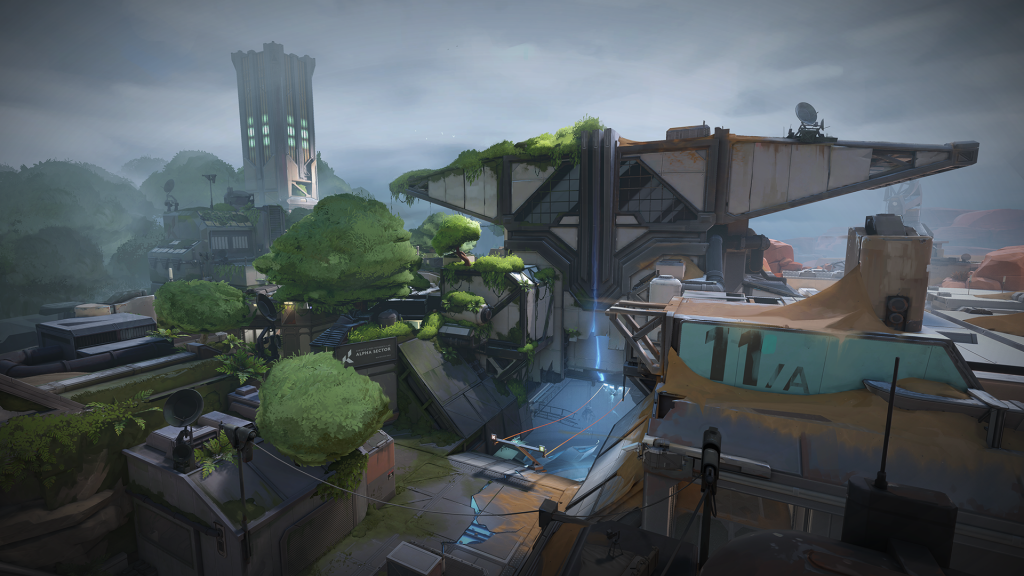
Players can put up two Mollies and one Alarm bot in Site A-Main to aid them to obtain an early kill. Even if opponents manage to dodge the Alarm Bot, the Turret will still display their location. The Molly can then be activated. Players can take up positions beneath the Site A platform and battle once the enemy has been defeated. The Valorant Sentinel’s next configuration will include an Alarm Bot in A-Main, however, the player must be on dish due to the exposure.
Molly should be placed in the little space near the spacecraft, beside the pebbles. Place another Molly in the general vicinity, as well as the Alarm Bot outside the main entrance. Players must take up a corner position with the Turret adjacent to them.
On Site A, Fracture is an excellent map for Killjoy setups. On Site B, one can generate a plethora of options using her ability. Players must place themselves near the wall behind the green boxes for this layout. Place a Molly and a Turret at the intersections of the walkway that connects the Tower and the Arcade. The Turret can assist in identifying the opponents’ direction.
Valorant Killjoy Guide: Killjoy setup for Split
In the case of A Tower, you’ll want to position your turrets in various locations to keep an eye on Ramps. Knowing they’re in Ramps is vital, as it aids your team’s decision to push that position (just make sure you’re passing the information on to your teammates). The alarmbot and swarm grenade are set up in a typical arrangement to gain time if the adversary decides to attack A Tower.
Killjoy’s B Site is a little more fun to set up because it has a lot more possibilities. With several turret positions and a stealthy alarmbot placement, the entrance to the site is exceptionally accurate. You could use a swarm grenade on the opposite side if you want, but as you’ll see in a minute, it’s not worth much in comparison to other spots. The back of the site offers a few more difficult placement opportunities, including many fantastic swarm grenade locations.
Are you curious about the top streamers of Valorant? Read Top 5 Valorant Streamers of 2021
Valorant Killjoy Guide: Killjoy setup for Bind
A Site of Bind has many turret positions, which might be useful for catching the opponent off guard. The areas to the left of showers might provide valuable information to opponents committing to the site as well as individuals exiting the showers. You’ll have a lot of luck on the truck’s turrets, in heaven, or the nook near the lighting. The alarm bot locations are quite conventional, being near shower entrances and in conjunction with swarm grenades. All of them are capable of wreaking havoc.
When you go to site B, your selections are far more limited. Regardless, right beneath the window lies one of the most effective alarm bot installations in the game. This is especially useful because adversaries have no means of knowing about it until they’ve already leaped out due to the lack of an audible signal. The swarm grenades are meant to melt those who get caught up in the chaos.
The other alarm bot and swarm grenade locations are excellent for protecting default plant sites and the tube. Aside from that, the four turret locations listed below are your greatest option for free damage. On pistol round, the one immediately behind the tube may be sneaky because it’s hard to hit and can do a lot of chip damage for your squad.
Valorant Killjoy Guide: Killjoy setup for Ascent

Place this turret outside A-Main, behind the boxes, since it will provide cover for adversaries in A-Main. Any adversaries going out of A-Main or entering A-Tree will be detected by it. You may now take a far more passive position on A-Site as a result of this. The alarmbot, which can both provide you information about where adversaries are and slow them down, is the next stage of a Killjoy setup.
Neighbors will have a difficult time detecting this at first, allowing you to gather some crucial information for your team. Keep in mind that if you regularly place your abilities in the same position, adversaries will ultimately begin to play around them.
When using a Killjoy setup for B-site, the turret on top of the barrels in CT is the most common. Position the turret atop the barrels, with B-Main in the backdrop. This turret is useful for gathering intelligence on enemies who may be hiding within B-Main and attempting to push out. It’s worth noting that this turret may be smoked off or swiftly disassembled, so don’t put too much faith in it.
The alarmbot is the first component of a very effective Killjoy setup capable of preventing rapid B pushes. It also prohibits opponents from walking up the lane and entering B-site without alerting you first. When activated as part of a swarm, nanoswarms may successfully stop a rapid B-Push by covering the whole B-Lane. When using all three, don’t forget to activate the alarmbot in the lane to do extra damage and gain free kills.
For more Guides, Tips, and Tricks
- Roblox Fishing Simulator Codes – December 2021
- How to find all Mirrorsea Voidrunner Caches in Solar Ash – Guide
- Best Class to choose in FFXIV
Check out our Video Games Guide Section for more dedicated guides.