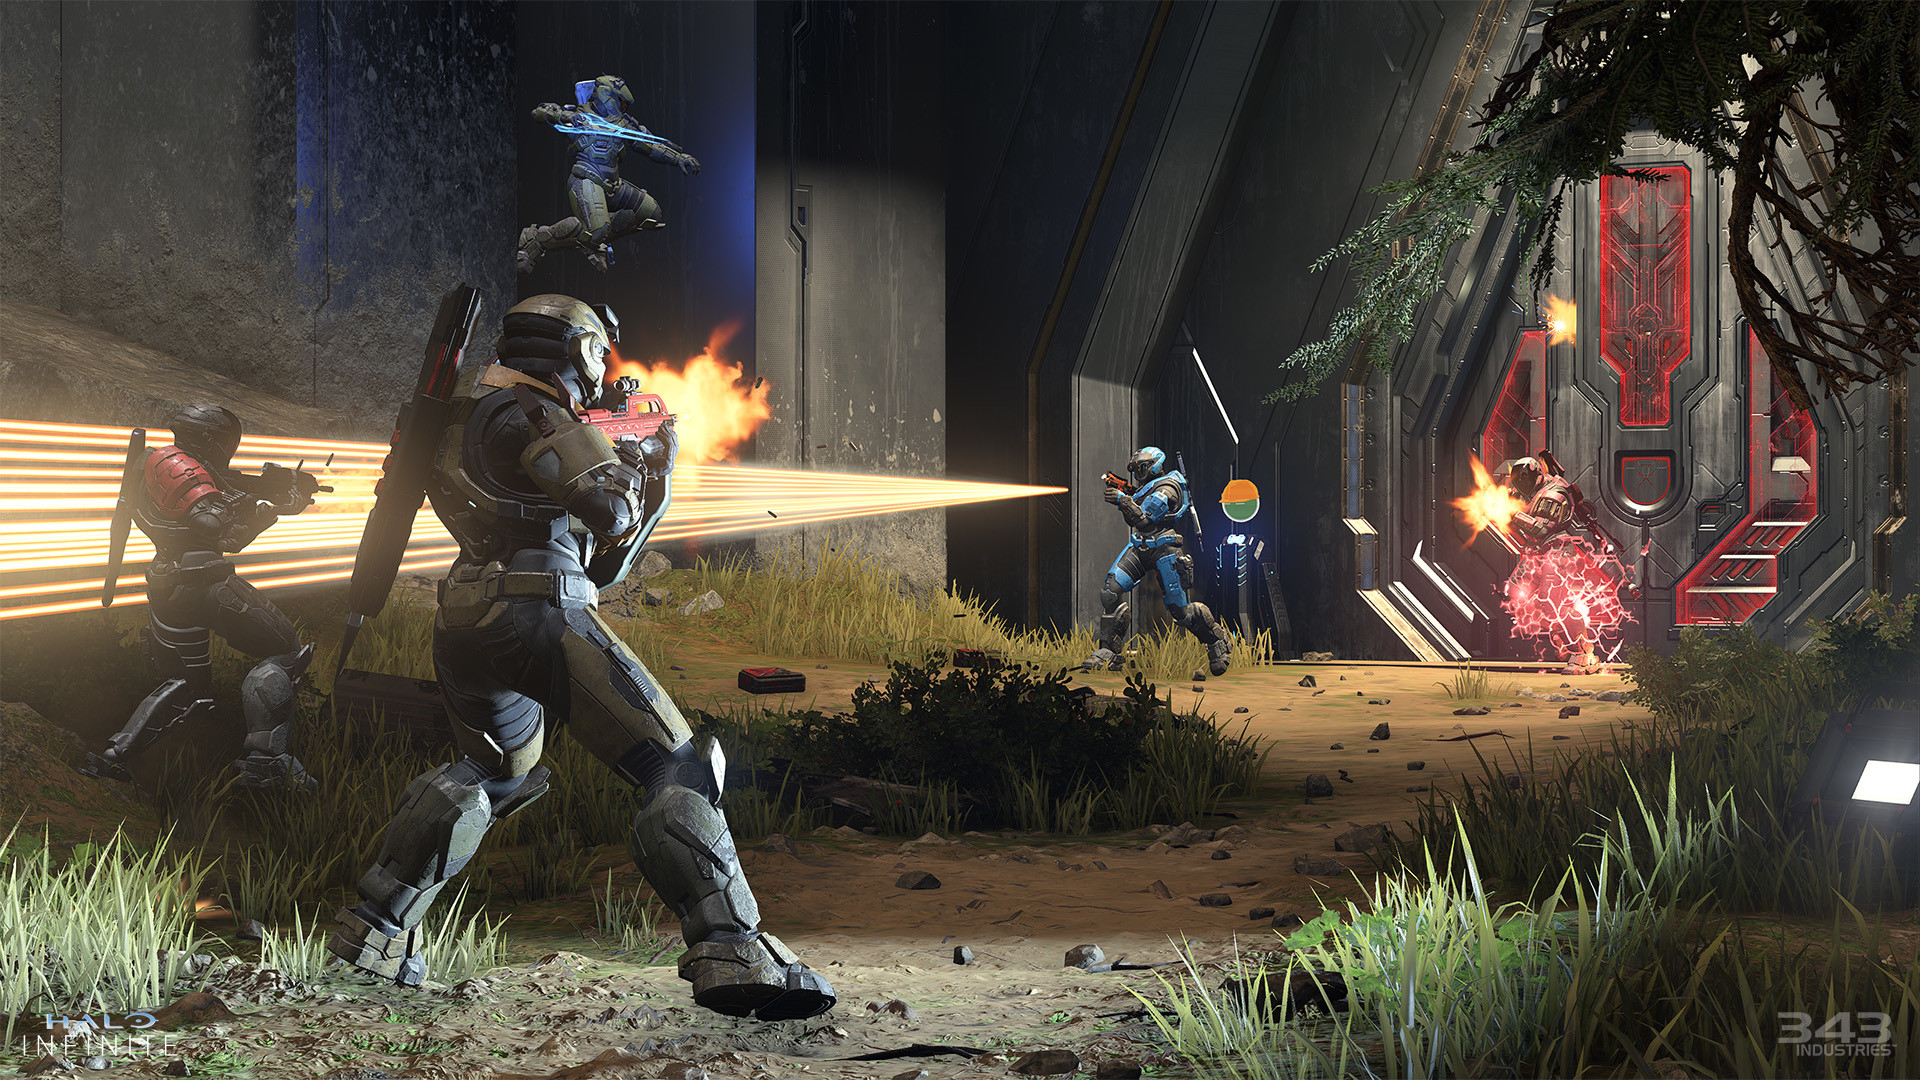
With our Halo Infinite Collectible Guide, you will get to know where you can find all the collectibles. These collectibles are an important part of your story.
With Halo Infinite now out and in everyone’s hands, Master Chief is back in action once again. Returning players will recognize a lot of the gameplay, with Master Chief skulking around spacecraft corridors. In addition to fighting swarms of aliens, there’s a significant shift in the shape of the open-world structure, which brings with it a greater amount of hidden items. We’ll go over what each collectible is, as well as the different missions and what they hold, in this Halo Infinite Collectible Guide.

What are the collectibles in Halo Infinite?
A variety of collectible items have been included in Halo Infinite. The following are some of them:
- Skulls
- UNSC Audio Logs
- Forerunner Archives
- Mjolnir Lockers
- Spartan Cores
- Propaganda Towers
- Banished Audio Log
The Tactmap will contain particular treasures numbered for each region you visit in Halo Infinite. Because Halo Infinite starts linearly, the trinkets on the Map Marker will be all the collectibles you’ll be able to locate in that location. But once you’re in the Open World, things change dramatically. Once you’re in Halo Infinite’s open world, you’ll be able to visit FOB outposts and interest sites to see how many collectibles are present. But there may also be Audio logs strewn over the area for you to gather.

Some of these logs are simple to locate as part of straight primary missions or on FOB bases. There are, however, a great deal of them scattered throughout the globe, making filling out your complete collection difficult and time-consuming.
To know about the Fracture Tenrai event, read Halo Infinite Fracture Tenrai Event — Schedule, Challenges, Rewards, and more
Halo Infinite Collectible Guide for UNSC Audio Logs
UNSC The Prisoner – Total 7

- You’ll be requested to discover a power seed to activate an elevator to the surface exactly after the Foundation level. Follow the in-game directions to the seed’s location, where you’ll also discover this journal on the left.
- Within the Tower itself is the next log. You’ll be greeted by a few adversaries as soon as you reach the compound through the grav lift. Then make your way up and around to the left, following the dark red passages and dodging charging enemies. If you keep looking around here, you’ll eventually locate this one sitting behind a pillar, as pictured below.
- Next, we’re at the Excavation Site for one of the main campaign tasks. After you climb up inside the laser drilling machine to switch it off, you’ll see a few logs scattered about. This one is hidden in a corner at the far end of the room, but it’s simple to see with your pulse radar.
- As illustrated below, this log lies immediately alongside the Spartan Core, which is indicated on your map a short distance from the Spire complex. It’s parked directly next to a wrecked automobile.
- As you collect the final power seed in a sequence to open up a portal deep into the Nexus, you’ll find this pad placed to the left-hand side of an entryway. It’s impossible to miss because it’s a highly linear sequence with loud and clear beeping.
- The next log appears near the beginning of the story mission, Repository, which takes place later on in the game in the location below.
- During the combat surrounding the faux UNSC base, you can find this log in the House of Reckoning. It’s on one side of the UNSC’s core building, as depicted below.
UNSC Infinity’s Approach – Total 11
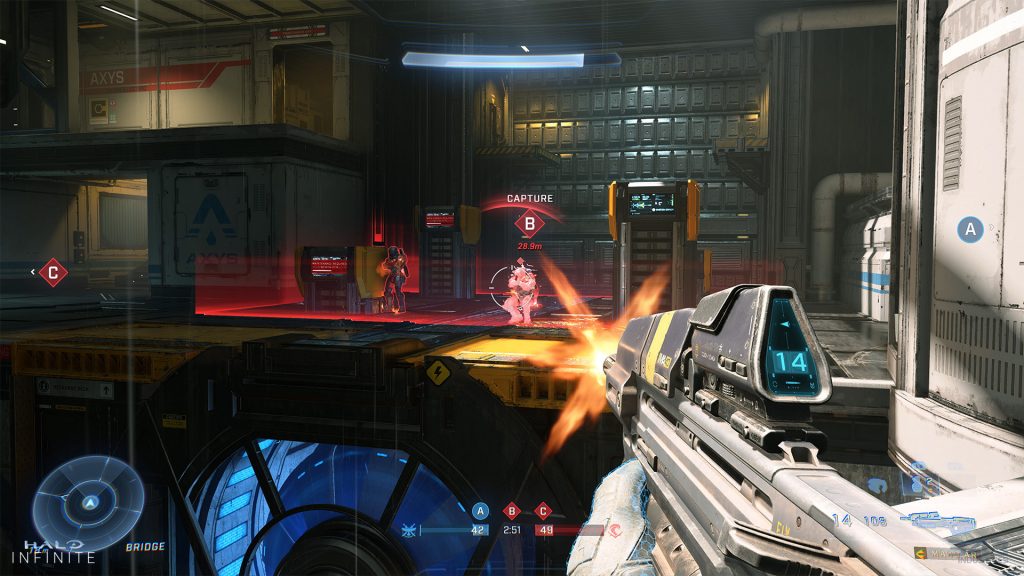
- This next log can be located in the far rear of FOB Golf, right in the middle of the area.
- In the exact location of FOB Foxtrot, this next UNSC entry sits right out in the open.
- Next up, we’ll visit the FOB Echo, which is located in the second sector of the game map after completing the Tower assignment. The one on the table will bleep at you as it sits there perched on a table.
- FOB Charlie is where you’ll get your next log when you’re ready to liberate it. It’s waiting for you right on the platform.
- For our next audio log, we’ll use FOB Alpha, which is another simple grab on the platform once you’ve cleared the area of adversaries.
- As illustrated below, our next log is all the way up in FOB Bravo, and all you have to do is clear the zone of adversaries to locate it seated on the center platform.
- Our next USNC log will be from FOB Delta. To discover your gift, simply check the main platform, as is customary at these bases.
- This one may be found on the area’s main platform at FOB November, well over the east.
- A new one has taken up residence on a FOB base’s main platform, this time in Peru’s southeast corner.
- FOB Kilo’s main platform is the next location.
- Another FOB, located in the south of the map, is Juliet. Clear the platform of enemies and capture it!
Halo Infinite Collectible Guide for Spartan Audio Logs
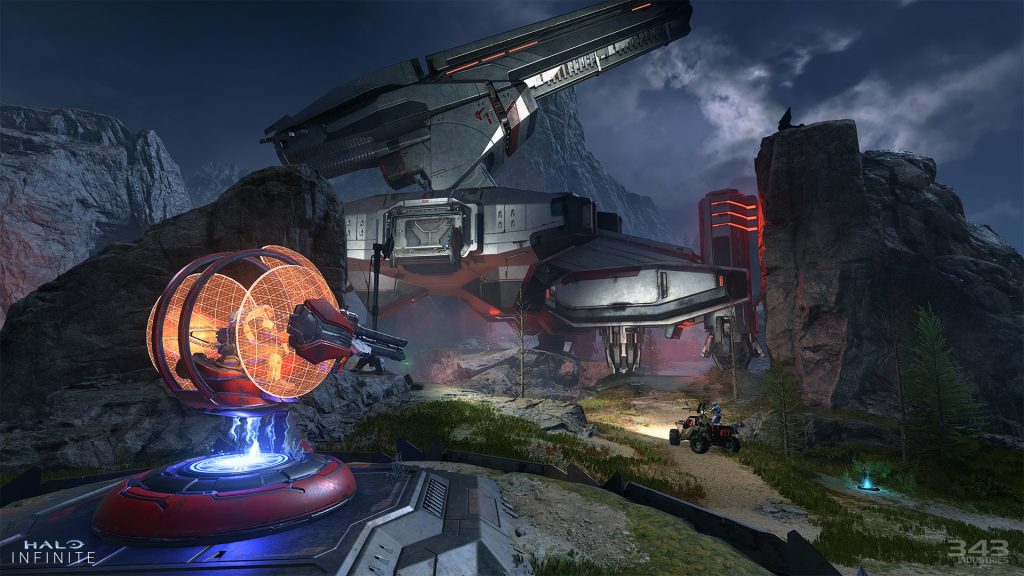
Evacuation
- At Home Defense – Lockdown
- At Touchdown – Lockdown
- At Perfect Aim – Lockdown
- At Infinity Down – Ringfall
- At Overwatch – Lockdown
Reverie
- At Home Away From Home – Foxhound Squad
- On The Mend – Excavation Site
- At Debrief – Pelican Down
- At Choke Hold – Connections, General Area Collectible
Retaliation
- At Reverie’s End – Pelican Down
- At Encroachment – Reformation, General Area Collectible
- At Those Left Behind – Pelican Down
- At Confrontation – Pelican Down
- At Red Tide – Reformation, General Area Collectible
- At Drawing the Line – Reformation, General Area Collectible
- At The Mission – Pelican Down
Halo Infinite Collectible Guide for Forerunner Archives
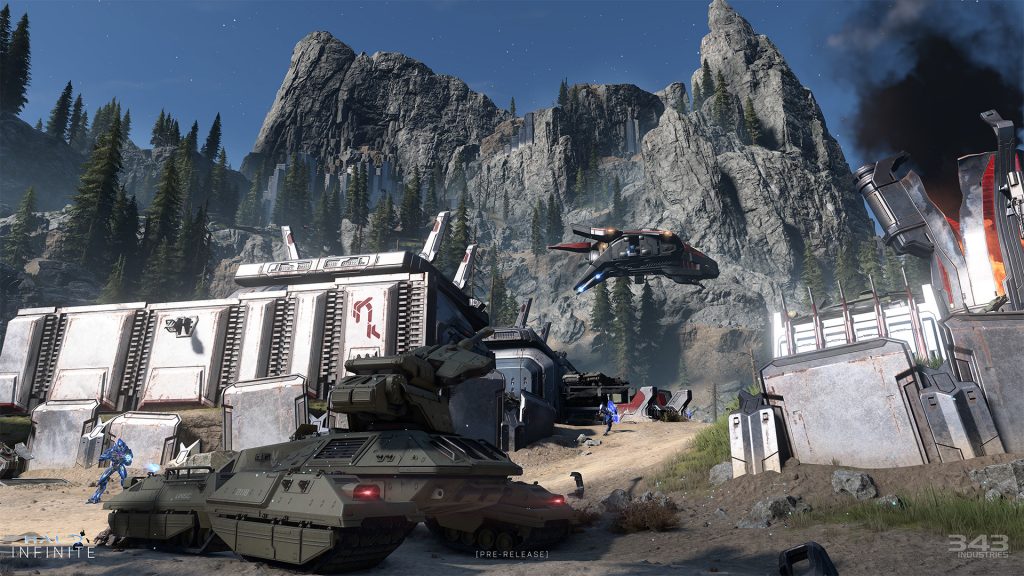
There are seven Forerunner Archives scattered around the map. Each of them consists of a small sequence of rings, one of which is glowing blue and with which you will interact. You’ll notice that each of the Artifacts unlocks a new Audio Log in sequential order.
Artifact 1
The Connections region of the map has this Artifact. Determine the location of the ambush on the Harpoon Squad. Head slightly south-east from there, just west of a small body of water. This is where you’ll locate the Artifact.
Artifact 2
A possible location for this artifact is southeast of Outpost Terminus. Search for a huge body of water in a somewhat flat area of the map. The Northern Shore is where you’ll find this artifact.
Artifact 3
Head to the pinnacle of the mountain to the southwest of Ransom Keep in the Lockdown area. It will take the form of a big ring that glows with blue energy.
Artifact 4
Head to the top of the tallest mountain to the northeast of FOB Golf in the Lockdown area.
Artifact 5
Head up the mountain to the northeast from FOB Juliet in the Reformation region. You can find this artifact just to the west of the mountain’s crest.
Artifact 6
In the Reformation region, proceed northwest from the FOB Hotel to the Mjolnir Locker waypoint, which is north of Fortune Squad. There are a lot of Banished in this region, so keep going until you reach the end of the rushing water and the ring’s northern waterfalls, where you’ll locate this Artifact.
Artifact 7
From FOB November, walk north and take the trail to the left until it splits to get around the mountain in the Reformation region. This is where you’ll find it.
Halo Infinite Collectible Guide for Skulls
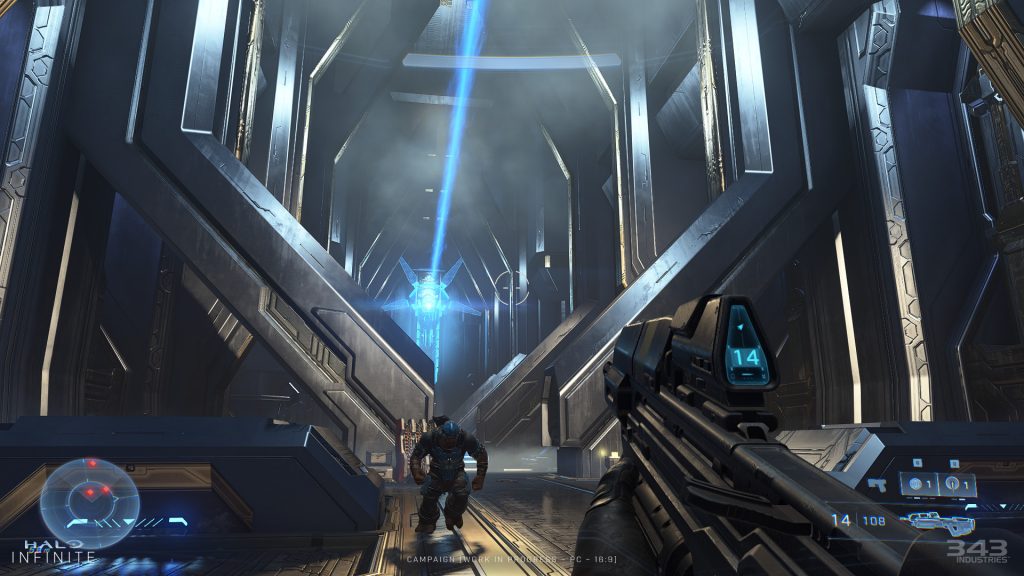
The Skulls provide you with the ability to alter the game’s behavior, making it simpler or more challenging for the player. To fulfill the ultimate challenge for a Halo player, completing a LASO gameplay, you must collect all of them. LASO stands for “Legendary All Skulls On,” and it demands the player to activate every skull before beating the game on the toughest difficulty option from start to finish.
If you wish to activate a skull you collected during the campaign, save your game and exit to the main menu. Then click Load Game and choose the desired save file. After that, you’ll be able to modify the difficulty and activate any of your available skulls.
For the best Guns in Halo Infinite, read Best Guns in Halo Infinite Multiplayer 2021
Grunt Birthday Party Skull
The location is Reckoning, Repository. You’ll come to a vast chamber with a hard light bridge extending to the center of it around halfway through the level. A second bridge will appear on the opposite side after a cutscene, however, there are two additional doors only accessible by grapple shot. On one side, there’s a place to put the power seed, and on the other side, there’s a place to put the power seed.
You’ll reach a point later in the level where the path forks. Look up in one of the splits’ enormous rooms, and you’ll see an entrance above several arches. Here is your chance to get a Grunt Birthday Party Skull.
Boom Skull
For this, the location is Ringfall, Warship Gbraakon. Continue beyond the huge lift and your first encounter with spike grenades to the end of the level. You’ll be in a room filled with red lights that are divided into many levels. If you observe a series of containers/crates going down vertical conveyor belts to your right, you’re in the proper place. All the Banished in this room must be defeated.
Three sets of containers will rise up on the right wall; leap atop the middle container as it rises and glance to your right. You should be able to see the skull directly ahead of you as the container comes to a halt. You’ll be forced into an immediate death field if you linger on the rising container for too long.
Bandanna Skull
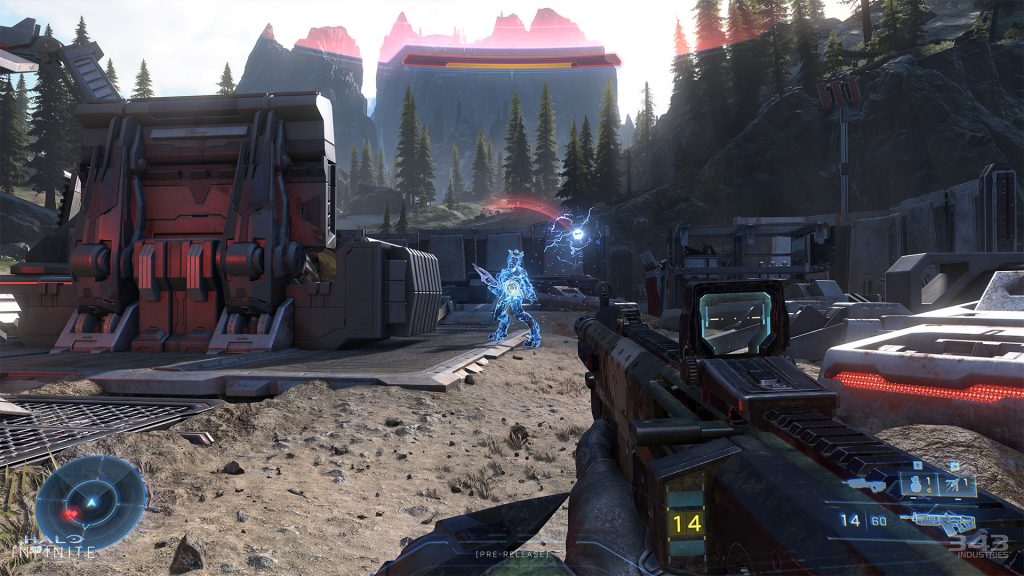
For the bandanna skull, the location is Endless, Silent Auditorium. Unlike other skulls that may be unlocked simply by finding them, the bandanna skull requires additional prerequisites. You must complete the Silent Auditorium without killing a single Sentinel in order to obtain the Bandanna Skull. Have a fully improved drop shield for the slow-moving platform; this allows you to locate a comfy area to camp out in and only move when necessary.
The spectacular elevator will take you to the final battle at the end of this level. Alternatively, you can proceed straight ahead to the next light bridge, where the door will open, allowing you to access this skull.
Unknown
The location is Ringfall, Foundation. Continue on until you locate The Weapon at the end of the level. You’ll end up in an elevator after The Weapon sequence. After exiting the lift, you will be in a vast blue chamber. Kill the grunts and jackals in front of you, but turn back before entering the doorway on the left.
There’s a support beam in the middle of the roof in the back of the chamber, where you came from. This is where the skull is hidden. To grab the Skull, grapple up to one of the support beams above the walkway you’re on.
Mythic Skull

Located at Reformation, The Command Spire. Continue until you reach the enormous Grav lift, which will spit you out into a large orange chamber. During the transit of the Halo Material, energy barriers emit orange light. Track the substance as it moves around two of the orange energy sources. Once you’ve gotten beyond the energy fields, use your grapple to go through the ceiling hole. You’ll find a gateway after a few levels; take this path to reach the Skull.
Famine Skull
The location is Reformation, General Area Collectible. A little patch of land to the extreme east of this area is unconnected to anything else. You’ll need a flying vehicle to reach there because it’s somewhat to the southeast of one of the Beacons.
Black Eye Skull
The location is Reformation, General Area Collectible. Follow the road west from Riven Gate until you see water on the left. Follow the water until it cascades down to form a waterfall. Turn around at the bottom of the waterfall, and you’ll notice a source of light peeping through. Climb up to this hole and through it to reach a hidden cave containing this skull.
Want to know how to download the game for free? Read How to download Halo Infinite Multiplayer Beta on PC and Xbox for free
Thunderstorm Skull
The location is Reformation, General Area Collectible. Fly immediately north from FOB Juliet towards the enormous metal mountain. A little single metal pipe climbs far into the sky to the east of the main summit. This is where you will see the Thunderstorm Skull. You could use the grapple shot to go up here, but it’s much easier to simply drop onto the top.
Fog Skull
The location is Connections, General Area Collectible. In the Connections area, head west from FOB Alpha. On the south side of the mountain, take a walk down the ridge. The soil and rock on the cliff will be transformed into the metal hexagons that make up the ring. Look above you for a little aperture as you turn back north to walk beneath the metal overhang. You’ll discover the Skull here if you grapple up to it.
Blind Skull
The location is Lockdown, General Area Collectible. Head south from the Carrera Squad towards the massive ravine that runs north to south across this area. You’ll need to keep your head down and look for a little ledge near some rock formations.
IWHBYD Skull
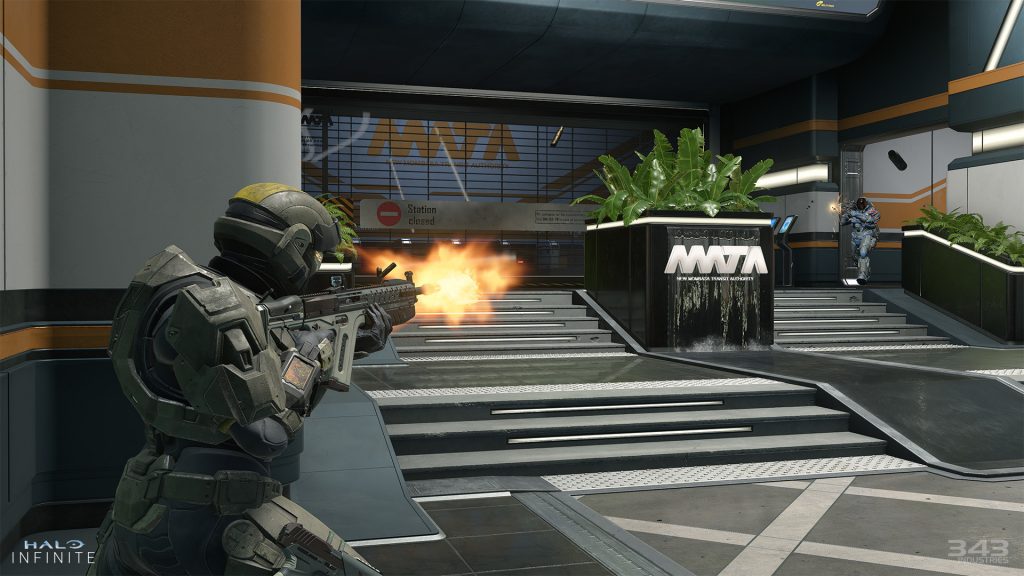
The location is Lockdown, The Tower. This skull is at the highest top of The Tower. You can go up here by improving your grappleshot’s recovery speed and climbing up the side of the building. There is a challenging section where you must grab a low-hanging spire, then spin around and grapple up to the building’s roof. If you’re having trouble or aren’t in a hurry to get this skull, you may come back when you have access to a flying vehicle.
Catch Skull
The location is Connections, General Area Collectible. Head west from Inka ‘Saham, which is located in the extreme northwestern corner of the map. Look for a deep valley between the mountain that will appear to your south and a little body of water in this area. Drop down and take up this Skull from its pedestal, keeping an eye out for the two Hunters.
So this was the Halo Infinite Collectible Guide for all the collectibles. Make sure you follow it correctly and collect these quickly.
For more Guides, Tips, and Tricks
- Top 10 Indie Games of 2021
- Icarus Beginner’s Guide – 10 Tips to help you Survive
- Roblox Tower Defense Shinobi Codes — December 2021
Check out our Video Games Guide Section for more dedicated guides.
