We have brought you the Yooka-Laylee and the Impossible Lair guide with some tips and tricks to improve your gaming experience.
Playtonic Games and Team17 have released Yooka-Laylee and the Impossible Lair, a platform video game. The game is a 2D platformer with side-scrolling gameplay. To finish several stages, the user commands Yooka, a male chameleon, and Laylee, a female bat. The goal is to gather quills and T.W.I.T. coins while also freeing a member of the “Beetalion” in these stages.
The Beetalion members each provide Yooka and Laylee one additional health point to spend on the final level, the eponymous “Impossible Lair.” Trowzer’s “paywalls” require T.W.I.T. coins to advance farther in the overworld. It’s worth noting that the player can enter the final level at any time during the game, however, it’s strongly recommended that they earn additional hit points by beating the previous stages first.
The first game’s “Tonics” function is also back. Tonics are potions that, if taken by Yooka, change the game in a variety of ways. To navigate between levels, an isometric 3D overworld is employed. Characters may be located and chatted to, and riddles for quills and tonics can be solved. Below is the Yooka-Laylee and the Impossible Lair guide with some tips and tricks.
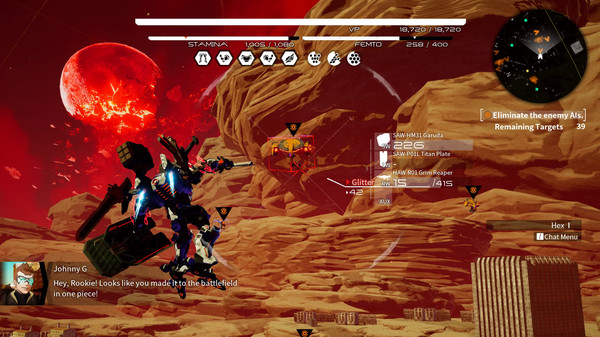
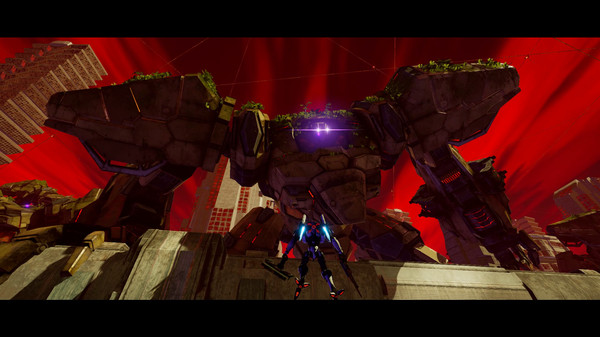
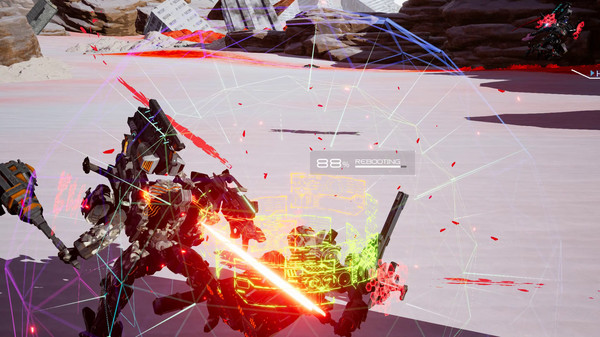
You might like Daemon X Machina Beginner’s Guide – Best Tips and Tricks.
Yooka-Laylee and the Impossible Lair guide: Tents
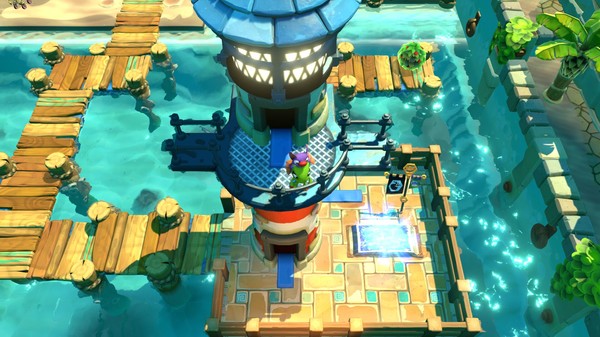
The Beetalion troops are housed in the tent that emerges near the entrance to the Impossible Lair after you complete the first level. More of these tents will come as you complete more chapters and rescue more Beetalion warriors. The Queen will inform you if you should go after Capital B or continue searching for more Beetalion Soldiers.
Yooka-Laylee and the Impossible Lair guide: Alternate chapters
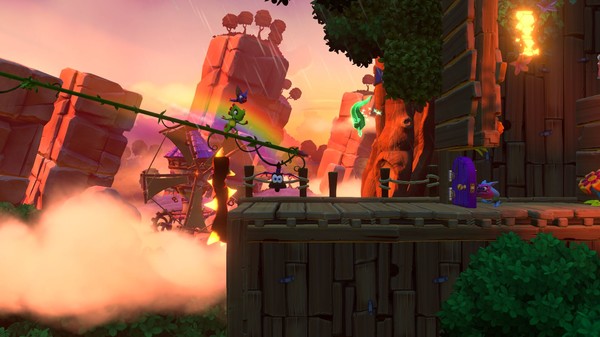
You may unlock an altered version of each of Yooka-Laylee and the Impossible Lair’s 20 chapters. These other versions frequently bring a unique twist to the region and allow you to explore new locations. Each one will have new tasks, a Beettalion soldier, and five T.W.I.T. Coins. These alternate chapters must be completed in order to proceed in the game.
Yooka-Laylee and the Impossible Lair guide: Rolling
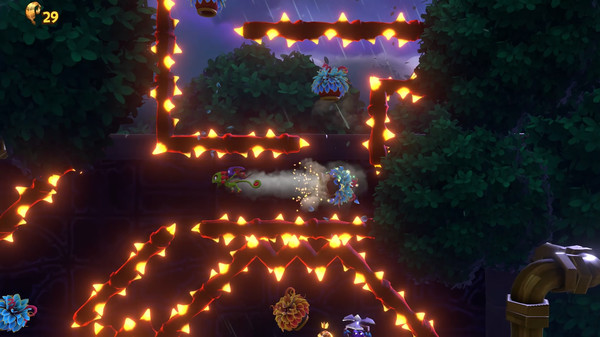
Yooka’s roll is one of the most useful components of your move set in Yooka-Laylee and the Impossible lair. While it covers a lot of territories and provides for a terrific offensive, it’s also useful for accomplishing difficult leaps. Yooka’s ability to roll off a platform and stay airborne for the duration of his roll is the reason behind this. You won’t actually start falling until the roll motion is finished.
Yooka may leap at any moment during his roll, including when in mid-air. Simply go to the edge of the platform you’re on, roll, and leap at the conclusion of the animation to ensure you can perform a tough jump properly. You’ll get the most mileage out of it if you do it this way.
Yooka-Laylee and the Impossible Lair guide: Signs
Tonics may be used to change the way Yooka-Laylee and the Impossible Lair work, as well as offer you a penalty or a bonus for the number of quills you collect. However, if you want to discover these, you’ll need to speak with the signs that can be found in the overworld. To relax their lips, you must give them a set quantity of quills for each of these indications.
While the signs do not provide the tonics themselves, they will direct you to a large number of them. Their recommendations are extremely simple to follow, so you’ll be rolling in tonics in no time.
You will need Quills
You’ll find that you’ll need Quills to unlock the other level of some of the chapters. In Yooka-Laylee and the Impossible Lair, Ghost Quills serve as a challenge to win additional Quills. There are five distinct colored Quills, each with its own personality.
Ghost Quills can be discovered in containers with the Quill emblem on them or scattered across the levels. Aside from Fee-Dee, each Ghost Quill will give you a T.W.I.T Coin or a Quillion. Even if you just play the game normally, you should have enough Quills. Quills can be gathered several times throughout the stages.
Also Read Final Fantasy VII: The First Soldier Beginner’s Guide.
Hidden exits
In the stages themselves, forty of Yooka-Laylee and the Impossible Lair’s bees are saved, but there are eight more to locate. So, how do you track them down? Eight of the levels have exits tucked away someplace. The imprisoned bee will usually be visible in the overworld, so you can usually identify which ones contain them. You’ll most likely be able to detect them if you keep your eyes alert.
The difficult part is identifying the concealed entrances. Some of these are simple to locate, while others will necessitate some research. This is made more difficult by the fact that you won’t know which of the two versions of the level has the exit.
Additional tips to keep in mind
- You can also increase your chances by acquiring some Tonics available in the game. If you wish to take any of them, you can do so without regard to the negative Quill bonuses, since here they do not matter at all.
- Collect as many Beettalions as possible in the game to increase your chances of surviving the entire Impossible Lair. For the best chances of success, you can either go all out and collect the Impossible Lair’s loot in game instead, depending on your skill level. Additionally, you should figure out what Tonics will maximize your chances.
- Try your best to memorize the setup of the Impossible Lair through trial and error. There is no consequence for continuously trying. You can try as many times as you like. You need to push yourself to the very end of the Impossible Lair.
For more Guides, Tips, and Tricks
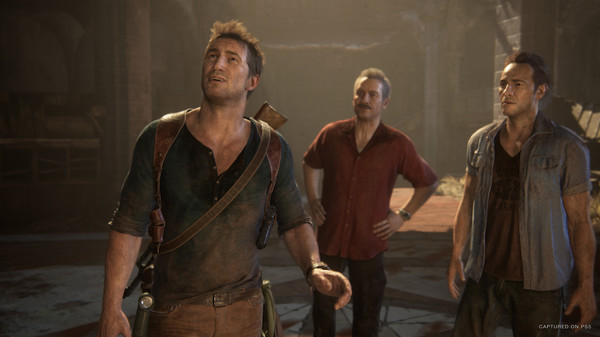
- Uncharted: Legacy of Thieves Beginner’s Guide
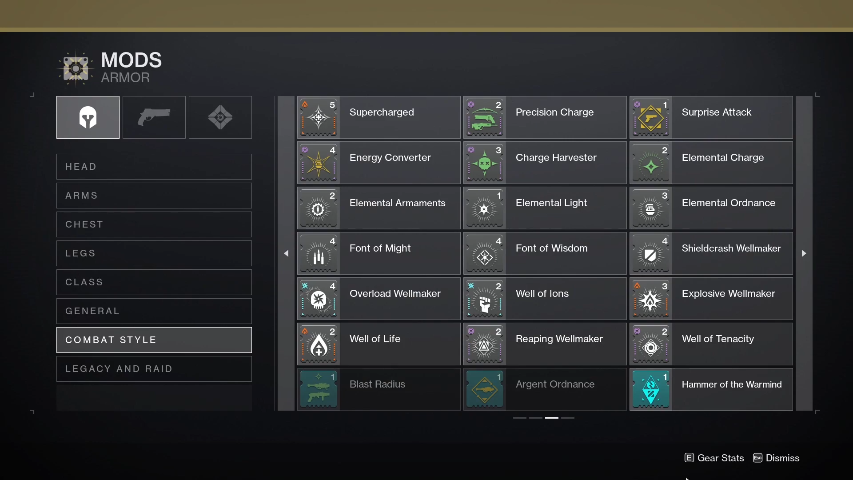
- What are Elemental Wells in Destiny 2
- Behind the Frame: The Finest Scenery Beginner’s Guide
You can also check our dedicated Video Games Guides section.